How to Fit a Hiking Backpack: Avoid Aches on Long Treks
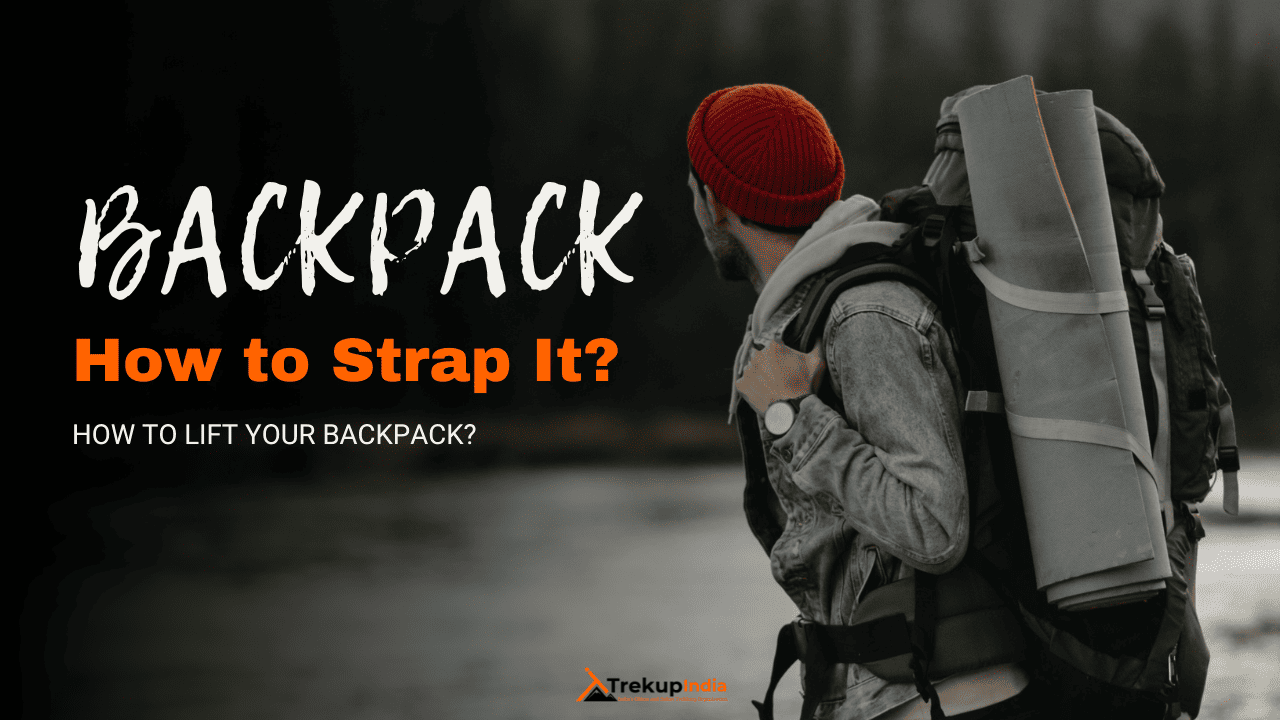
As a trekker traversing the Himalayas, your backpack is your constant companion – whether in the Kedarkantha pine forest or the Har Ki Dun meadows of alpine meadows – yet if it does not fit correctly, it could turn every step into a painful effort. Trekup India understands how poorly fitted backpacks can lead to sore shoulders and backaches, leading to early departure from treks. We provide this guide as a means of taking proper care when carrying one.
Why Proper Backpack Fit Matters
Your backpack should do more than simply carry weight; it should spread it across shoulders, hips and back in a manner that feels balanced and productive. An unsuitable one would only add to stress levels in an already stressful experience.
- Causes of lower and upper back pain.
- This causes fatigue and poor posture in people.
- Accident risk on uneven terrain.
- Packs that fit properly can become extensions of yourself.
1. Choosing the Right Backpack
Choose an Appropriate Volume:
- Day Treks (1-3 Days): 20-40 Liters
- Multi-day treks (3-5 days): 40-60 liters are necessary.
- Treks for expeditions (5+ days): 60 Liters or More
- Torso Length Is More Crucial Than Height
- Measure from the cervical vertebra (at the base of your neck) up to the iliac top of hips (top of hips).
- Most packs are available in three sizes: small (15-17″), medium (17-19″) and large (19and”).
Consider Adjustable Features.
For maximum comfort and support, look for adjustable features with cushioned shoulder straps that conform to the shape of your shoulders and are height adjustable.
Hip belts laden with load lifters (transferring 70-80% of weight from shoulders onto hips) provide excellent weight transference.
Sternum strap and load stabilisers (to reduce swaying)
2. Properly Fit a Backpack
Step 1: Loosen All Straps
Before donning the garment, loosen all straps including shoulder, hip belt and load-adjusting devices.
Step 2: Wear It High & Tight
Hip Belt: The appropriate place for this belt to sit is on your hips rather than around the waist.
Shoulder Straps Should fit tightly around the shoulders without cutting into them. There should be no space between the shoulders and the straps.
Step 3: Adjust Load Lifters
The shoulder straps bring your pack closer to you.
Close the pack until its weight distribution is uniform and not heavy.
Step 4: Securing the Sternum
Strap Securing the Sternum Strap can prevent shoulder straps from shifting while simultaneously providing stability to the shoulder straps.
Set yourself to an accessible height (usually around mid-chest level).
Step 5: Adjust for Comfort
Bend your knees, walk around and ensure that the backpack follows your body without moving in an uneven fashion.
If you feel pressure points, make the necessary adjustments! If this is happening to you, act quickly.
Packing Tips for Better Weight Distribution
- Most heavy items should be located near your back (e.g., sleeping bag and tent food), with medium-weight items (Clothes and stove) in between to help balance out your load.
- Finally, having rain food/equipment at either the bottom or the top helps alleviate top-heaviness and top-heaviness issues.
- Avoid Over packing. To avoid unnecessary stress on your back, beware of overpacking. Carrying an excessively heavy load will only increase strain and discomfort during travel.
Common Mistakes and How to Correct Them
Mistake 1: Carrying Weight on Shoulders Wrong-doer.
Solution: Tighten your hip belt for additional support in bearing most of the burden.
Mistake 2: Loose Load Adjusters
Solution: Tighten load straps when lifting to pull the weight closer.
Mistake 3: Unsuitable Torso Fit Repair: Make sure the pack’s length of torso matches up with your own.
Mistake 4: Poor Packing
Solution: When packing heavy gear, place it near your spine for maximum weight distribution and efficiency.
Conclusion
An appropriately sized backpack can help increase endurance, reduce injury risks and ease fatigue during mountain expeditions. When planning your next trek, practice adjusting and using your pack on shorter treks before setting out.
Bear in mind: comfort is key when exploring nature!
About Author

Preetam Singh Rawat (Founder)
The person behind this trekking organization is someone who’s spent over a decade – 12 years, to be exact – living and breathing the mountains. With multiple high altitude summits under his belt (we’re talking 6000 to 7000 meter peaks), he’s not just experienced – he’s the real deal.
But what really sets him apart is the sheer number of treks he has guided. He has led over 200 Himalayan expeditions, including well known routes like Bali Pass, Buran Ghati, Rupin Pass, Pin Bhabha, Stok Kangri, and Black Peak. Not just once, but multiple times. So yeah, when it comes to the Himalayas, he knows every twist in the trail and every story the mountains have to tell.
Got questions or want to get in touch? Write to Preetam at preetam@trekupindia.com. He’s always happy to chat about treks, answer your questions, or help you prepare for your next big adventure.
Share this article
Dates For Upcoming Treks
Want To Trek Like Pro?
Basically, watch these videos if you want to trek the same way professional trekkers do and make your skills better. These videos contain useful tips and techniques to further improve your trekking skills itself. These videos actually help both new and experienced trekkers improve their trekking skills. These videos definitely provide useful tips that make your trek better. We are seeing that these videos by Trekup India experts will only help you make your trekking skills better.



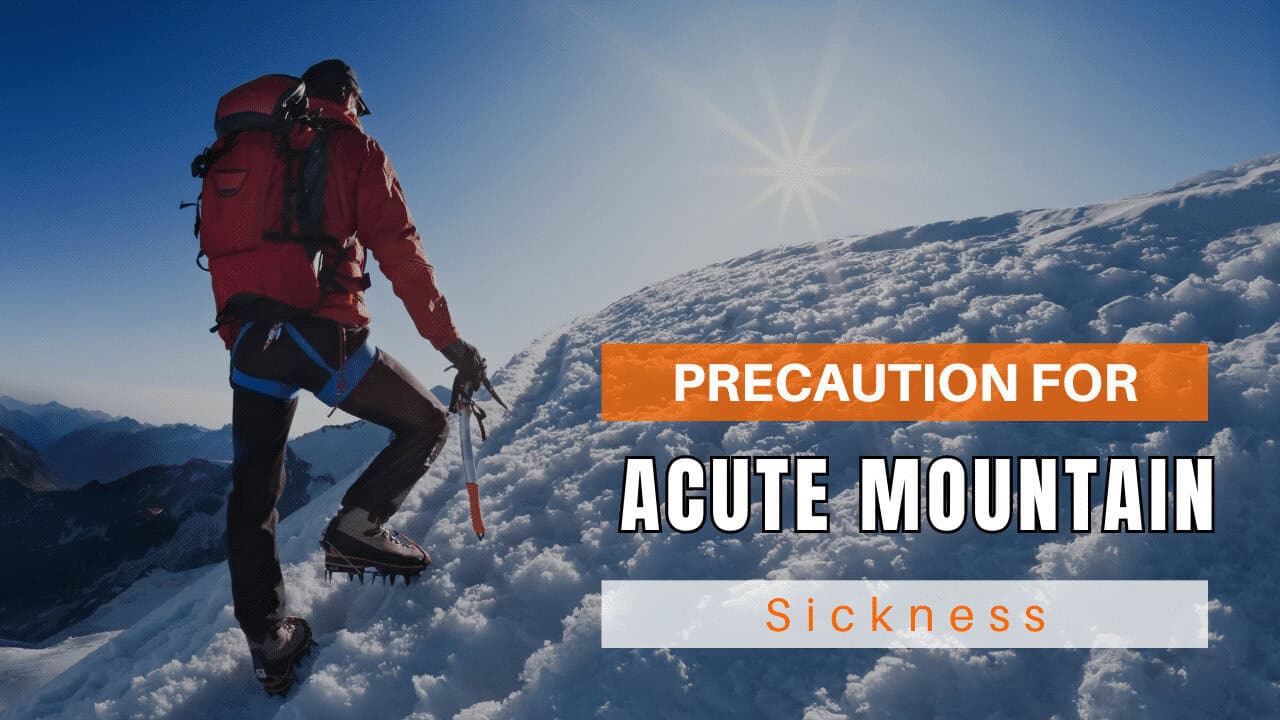
Know Everything About Acute Mountain Sickness
Acute Mountain Sickness occurs when people trek to high altitudes above 8,000 feet. This condition itself develops further due to reduced oxygen levels at such heights. Basically, as you go higher up, the air pressure and oxygen levels decrease, which causes the same problem. Acute Mountain Sickness surely causes headache, nausea, vomiting, and dizziness in affected persons. Moreover, peoples also experience difficulty in sleeping during this condition. To avoid mountain sickness, you should actually trek up slowly to higher altitudes. To learn further about this condition itself, watch the videos by Trekup India.


