How to get a Permit for a Trekking Expedition from Indian Mountaineering Foundation
Trekking in the Indian Himalayas? Honestly, it’s hard to beat. The landscapes are wild and breathtaking, and every trail feels like its own little story. But before you get too swept up in the excitement, there’s one thing to keep in mind—most of these regions require permits. It’s not just bureaucracy for the sake of it either; these rules are in place to keep trekkers safe and to help protect the fragile mountain ecosystems.
In many areas, especially if you’re planning a serious expedition, you’ll need to go through the Indian Mountaineering Foundation, or IMF. Think of them as the go-to authority for all things mountaineering in India. They’re the ones who issue permits, promote mountain sports, and basically keep things organized and safe for everyone heading up into the high altitudes.
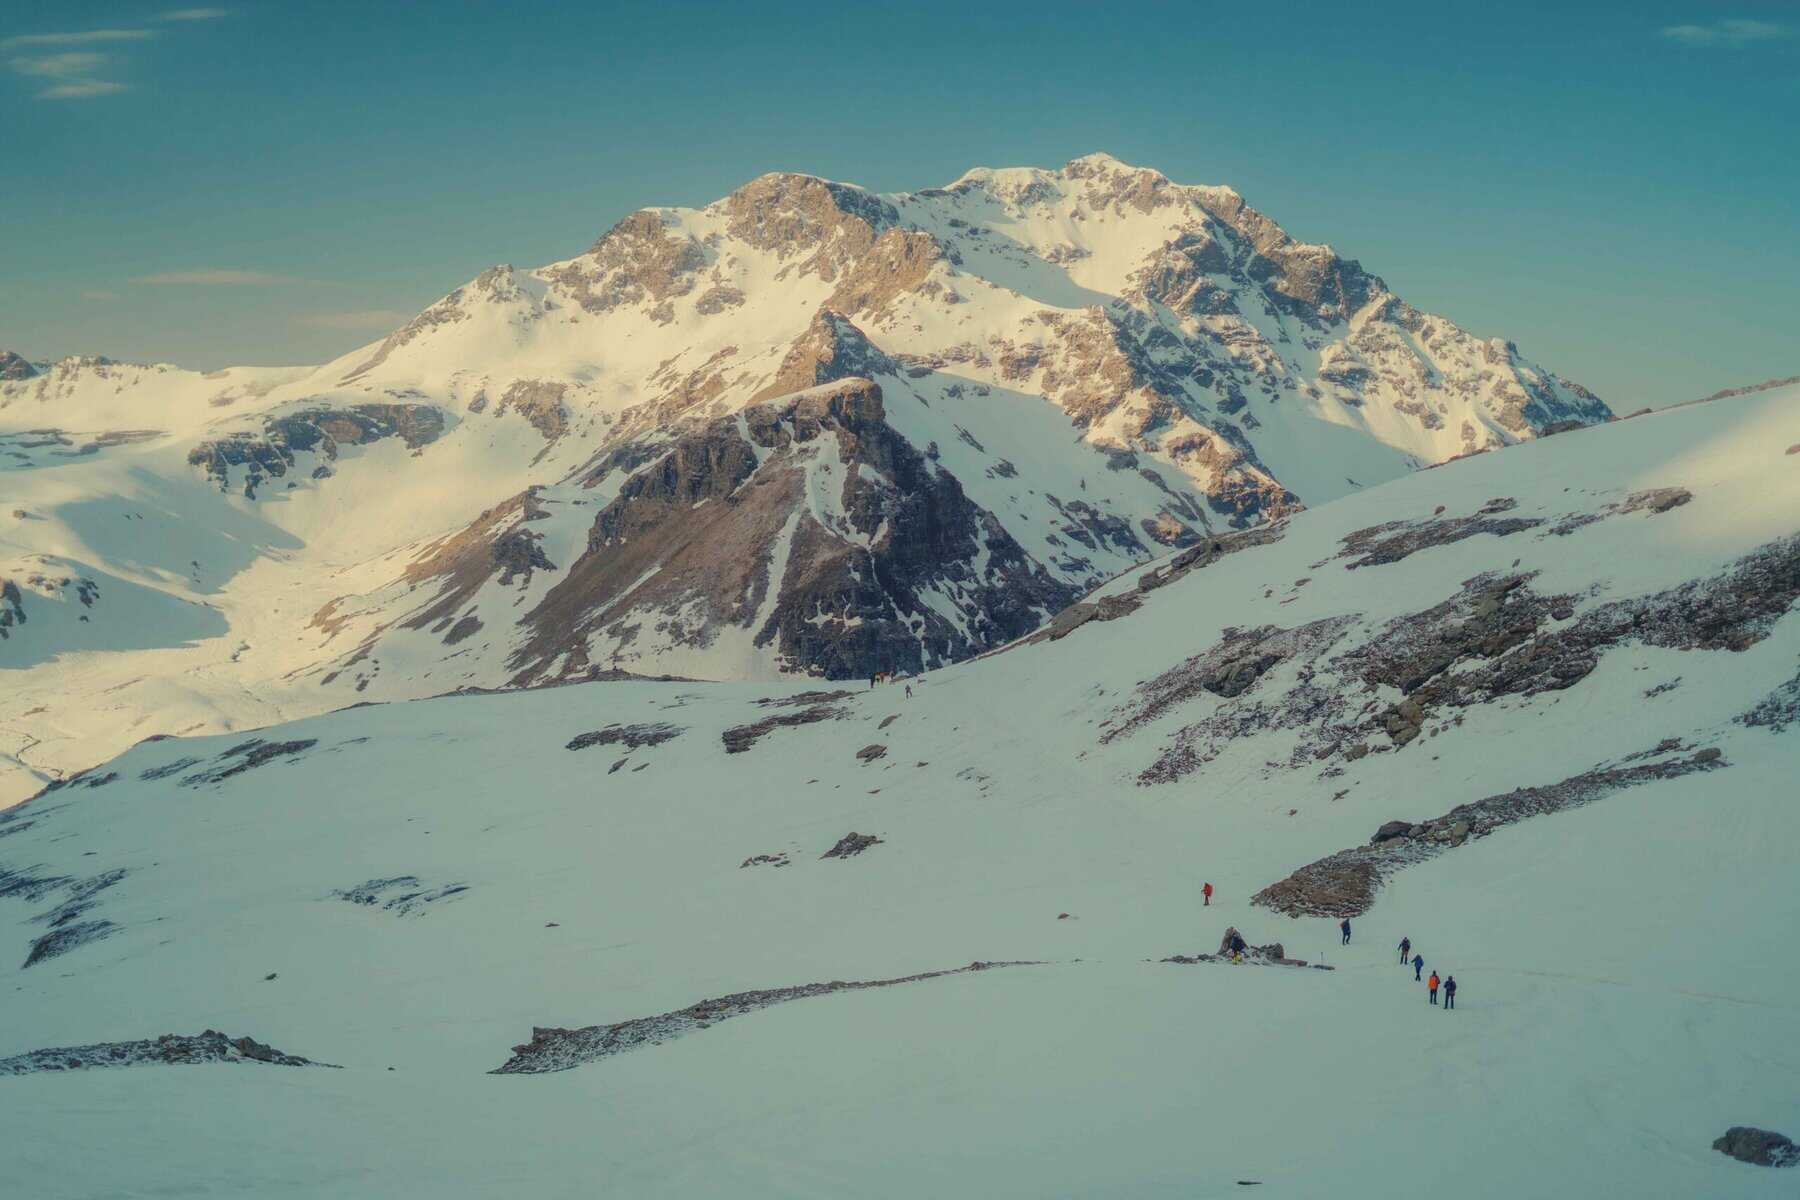
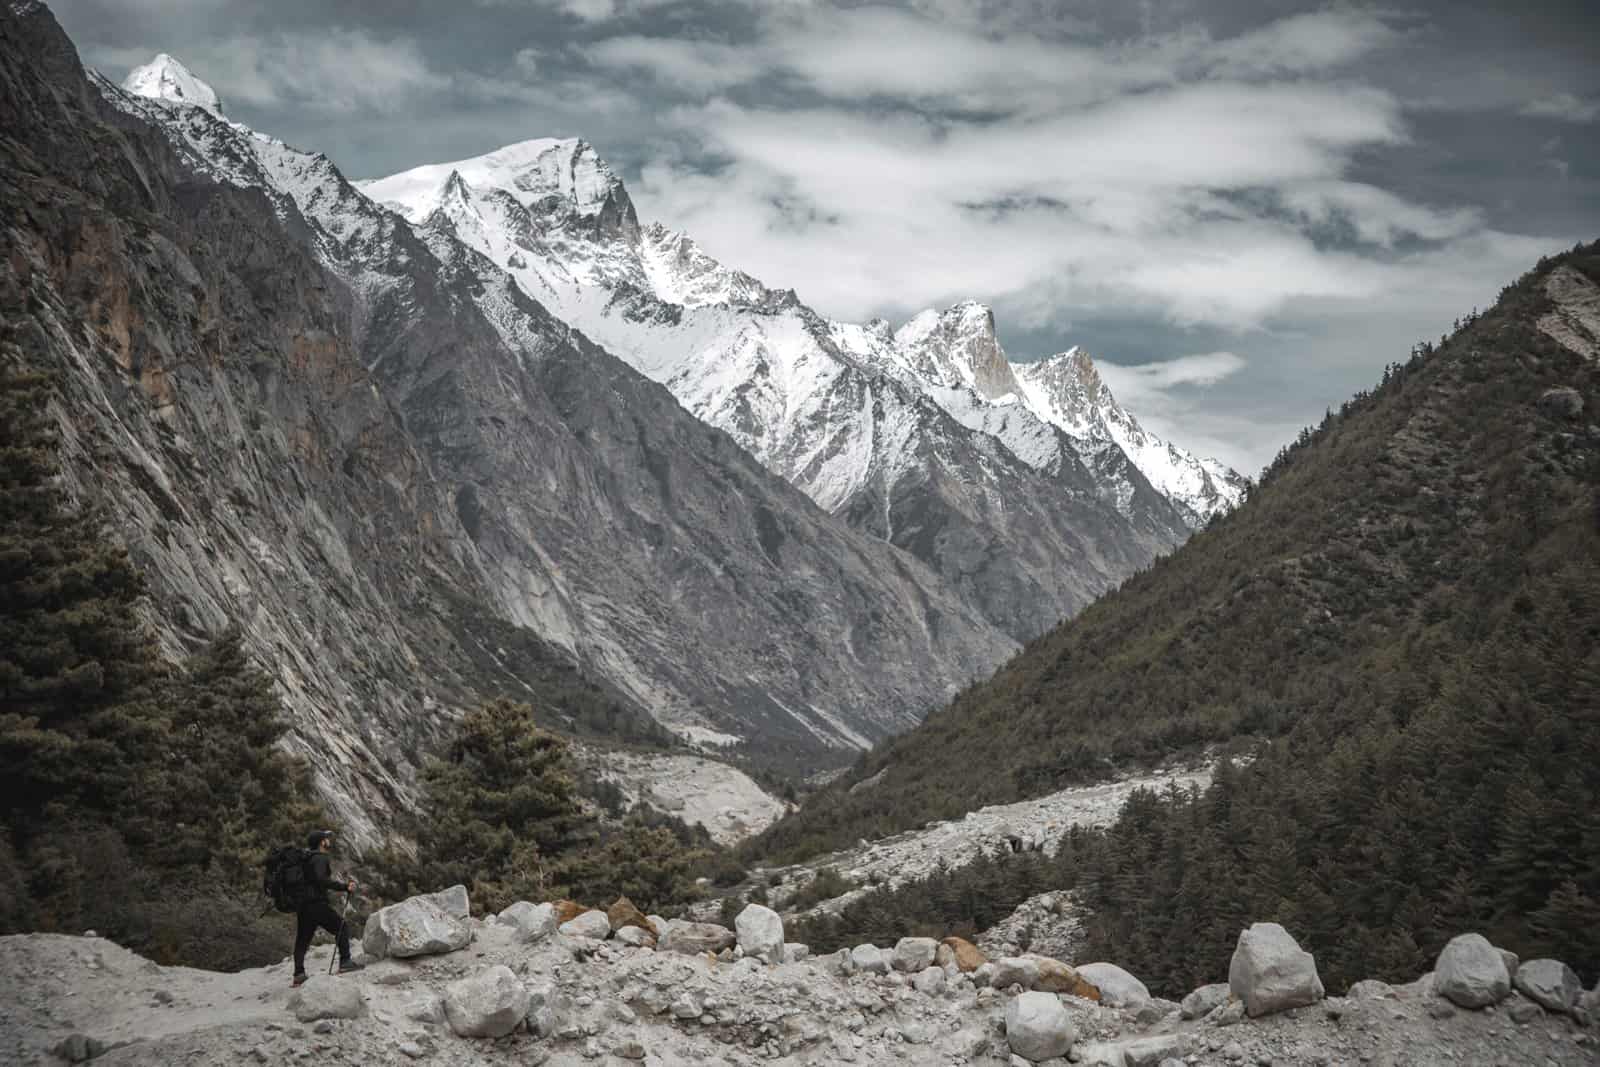
Now, sure, Nepal gets a lot of the spotlight when people talk about the Himalayas—Everest and all that. But don’t overlook India. A massive stretch of the Himalayan range lies within Indian borders. Northern India is home to hundreds of peaks—some are fairly approachable, while others are seriously technical and not for the faint of heart.
From the dramatic cliffs of Kashmir and Leh to the rugged beauty of Himachal, Uttarakhand, Sikkim, and Arunachal Pradesh, there’s something for every kind of climber or trekker. And honestly, if you’re even a little bit into the outdoors, this part of the world is a dream. Just make sure you’re prepared, and yes, get those permits sorted ahead of time. Trust me—it’s worth the effort.
Eligibility Criteria
Who Actually Needs a Permit?
If you’re heading into restricted areas—especially those close to international borders—you’ll almost definitely need a permit. These regions are sensitive, so authorities keep a close watch. Now, if you’re just trekking through more open, less remote parts, you might be off the hook. That said, it’s always a good idea to double-check with the Indian Mountaineering Foundation (IMF) before planning anything. Better safe than scrambling last-minute, right?
What About the Team?
Whether you’re trekking solo or rolling deep with a group, you can apply for a permit. But here’s the thing: experience and fitness really matter. These aren’t casual strolls through the hills—we’re talking serious expeditions. Everyone on the team should be prepared for the challenge.
For most routes, at least half the team—including the expedition leader—should have completed an Advanced Mountaineering Course from a recognized institute. It’s not just a checkbox—it ensures your team knows how to handle the terrain and conditions up there.
If you’re including folks who haven’t done advanced courses, no worries, but there are limits. You can have up to two members without mountaineering certifications, as long as they’ve got solid experience with high-altitude trekking and rock climbing. The rest of the crew should at least have a Basic Mountaineering Course under their belts from a certified organization.
Who Can Lead the Team?
The team leader? That’s a big role, and the requirements reflect that. They’ll need to have completed the Advanced Mountaineering Course, be at least 25 years old, and—this is important—have summited at least two peaks over 6,400 meters. That kind of experience really makes a difference when you’re up against unpredictable mountain weather or tricky terrain.
Application Process
How to Apply for an IMF Trekking or Expedition Permit (Without Losing Your Mind)
So, you’re planning an expedition in the Indian Himalayas—amazing! One of the first things you’ll need to do is get your permit sorted through the Indian Mountaineering Foundation (IMF). The good news? You can apply online (or offline, if that’s more your thing). Here’s a step-by-step breakdown of how to navigate the online application process—because let’s face it, these things can get a little confusing.
Step 1: Head to the IMF Website
First things first, open your browser and go to www.indmount.org.
If you’re new to the site, you’ll need to create an account. Just look for the Sign Up section and pick the category that best fits you—either User, Tour Operator, or Club. Fill in the required details, and once that’s done, they’ll shoot you a confirmation email.
Important: Open that email and click the activation link to get your account up and running. No activation = no progress.
Step 2: Log In and Set Up Your Profile
Once your account is active, log in on the website. Head over to the Profile Management section, fill in your personal info, upload any required documents, and save.
Tip: If you don’t have time to finish everything in one go, you can save your progress as a draft and come back to it later. Super handy.
Step 3: Start Booking Your Expedition
Now that your profile’s ready, it’s time to dive into the expedition booking. On the main menu, click Expedition Booking. You’ll see detailed steps laid out, so don’t worry—it’s not as overwhelming as it sounds.
Click on Create Expedition, read through the instructions carefully, and then get started on filling out the expedition form.
You’ll be asked to choose the Type of Expedition (for example, Joint or Foreign), and then pick your peak. There’s a map that helps you select from the listed peaks—pretty straightforward.
Once you confirm your chosen peak, you’ll be prompted to select and confirm your route. If the route already exists, just pick it from the list. Review it, reconfirm, and save.
Step 4: Build Your Team
Now for the fun part—creating your team.
Click Create Team, then hit Build Team. You’ll need to enter the User IDs of your team members and send them invites to join the expedition.
If someone doesn’t have an account yet, just ask them to create one so you can add them.
After they get the invite, they’ll need to click View Invite and then Accept under the Action section. Once everyone’s accepted, you’ll go back in and Freeze the team.
Step 5: Fill Out the Main Application Form
Once your team is locked in, it’s time to complete the application. Click Fill Application Form. If you’re a foreign national, you’ll be asked to select your nearest Indian embassy.
Fill out the required information, check all the necessary boxes (including the terms and conditions—yes, that’s important), and hit Submit when you’re done.
Step 6: Make the Payment
After submitting your application, hang tight. IMF will review your expedition details, and once they approve everything, you’ll get a confirmation email.
That’s your cue to go back to the website and click Application Payment. You’ll be able to choose between paying online or via Demand Draft. Most people go the online route—it’s faster and simpler.
Click Pay Now, and you’ll be directed to a secure payment gateway. Just follow the prompts and click Proceed to Payment to wrap it all up.
What’s Next?
Once your payment goes through, keep an eye on your inbox. IMF will get back to you with the next steps, so you’ll be all set for your Himalayan adventure!
Offline Application Form (for Foreign Nationals)
Prefer the Offline Route? Here’s How to Apply the Old-School Way
If you’re not into doing everything online, no worries—there’s still a perfectly solid offline process for getting your expedition permit through the Indian Mountaineering Foundation (IMF). Here’s how to go about it.
Start by heading over to the official IMF website: www.indmount.org. Once you’re there, look for the downloadable Application Form. This form is the heart of your application and covers all the basics—stuff like which peak you’re planning to climb and key details about your expedition.
But that’s just the beginning. You’ll also need to fill out a few additional forms and gather supporting documents. These typically include:
A route map of your planned climb
Detailed info about your expedition leader
Full team details
Information for the nearest Indian embassy (especially for foreign nationals)
Any import/rental equipment declarations
A signed undertaking form
Basically, if it’s part of your climb, they’ll probably want some paperwork on it.
Making the Payment
For offline applications, the Payment has to be made via Demand Draft, so make sure to get that sorted in advance. The booking charges are different depending on who you are:
Indian teams: You’ll need to pay the full booking amount (100%) upfront.
Foreign teams: You’re looking at a 25% advance on handling charges at this stage.
Processing Time: What to Expect
If your expedition is in one of the open areas, you’re in luck. The processing time is usually pretty quick—often done within 7 days of receiving your full application.
Now, if you’re heading into a restricted area, brace yourself—it can take a while. Processing these permits might take up to six months. Yep, really. So if that’s your plan, it’s best to apply as far in advance as you possibly can. No one wants last-minute stress messing up an expedition!
For Smooth Permit Application Process
A Few Final Tips to Keep Things Smooth
Plan Ahead (Seriously)
If you’re aiming to trek during the peak season—when the weather’s perfect and the trails are buzzing—you’ll want to start your permit process early. And by early, I don’t mean a week or two before your trip. Give yourself plenty of time, because things can get backed up fast when everyone’s trying to head out at once.
Double-Check Everything
This one sounds obvious, but it’s easy to miss a tiny detail when filling out forms—especially when you’re juggling gear lists and travel plans. Go over your application carefully. A small error in the info you submit can slow things down or, worse, get your permit denied. Nobody wants that kind of surprise.
Stick to the Rules
Once you’re out on the trail, make sure you follow the guidelines provided by the IMF. They’re there for a reason—mostly to keep people safe and to protect the environment. Ignoring the rules could lead to fines or even getting your permit pulled, which could cut your trip short in a pretty disappointing way.
Respect the Locals and the Land
Besides the IMF rules, local authorities or environmental groups may have their own guidelines, especially in eco-sensitive zones. Pay attention to those too. Whether it’s a seasonal ban on fires or a restriction on camping in certain spots, following these helps preserve the places we all love to explore.
About Author

Nanda Rawat (Operation Manager)
Nanda Rawat holds a Master’s degree in Tourism and Hospitality and is a seasoned professional specializing in Adventure and Leisure Travel. As a travel specialist and consultant, his core mission has always been to deliver exceptional service by sharing the full breadth of his experience, ensuring client satisfaction on a global scale.
With over 16 years of experience, Nanda has worked with three well-established tourism companies, gaining deep insight into both inbound and domestic travel operations. He has contributed directly and indirectly to the Adventure Tour Operators Association of India (ATOAI) and has participated in multiple Immediate First Aid Training programs at the Indian Mountaineering Foundation (IMF).
In addition to his fieldwork, Nanda has shared his expertise through guest lectures in tourism and hospitality at various universities. He has independently led numerous expeditions across the Indian Himalayas and was actively involved in the rescue operations during the 2010 Ladakh flash floods.
In recognition of his outstanding coordination skills, he was honored with the Best Travel Coordinator Award by Joy James Educational Trust in 2012. A strong advocate of ethics, sustainability, and eco-tourism, Nanda takes great pride in being an integral part of Trekup India.
Write to him at: nanda@trekupindia.com
Share this article
Dates For Upcoming Treks
Want To Trek Like Pro?
Basically, watch these videos if you want to trek the same way professional trekkers do and make your skills better. These videos contain useful tips and techniques to further improve your trekking skills itself. These videos actually help both new and experienced trekkers improve their trekking skills. These videos definitely provide useful tips that make your trek better. We are seeing that these videos by Trekup India experts will only help you make your trekking skills better.

Know Everything About Acute Mountain Sickness
Acute Mountain Sickness occurs when people trek to high altitudes above 8,000 feet. This condition itself develops further due to reduced oxygen levels at such heights. Basically, as you go higher up, the air pressure and oxygen levels decrease, which causes the same problem. Acute Mountain Sickness surely causes headache, nausea, vomiting, and dizziness in affected persons. Moreover, peoples also experience difficulty in sleeping during this condition. To avoid mountain sickness, you should actually trek up slowly to higher altitudes. To learn further about this condition itself, watch the videos by Trekup India.
