Charang Ghati Trek
Charang Ghati Pass Trek - A Challenging Journey Through Kinnaur
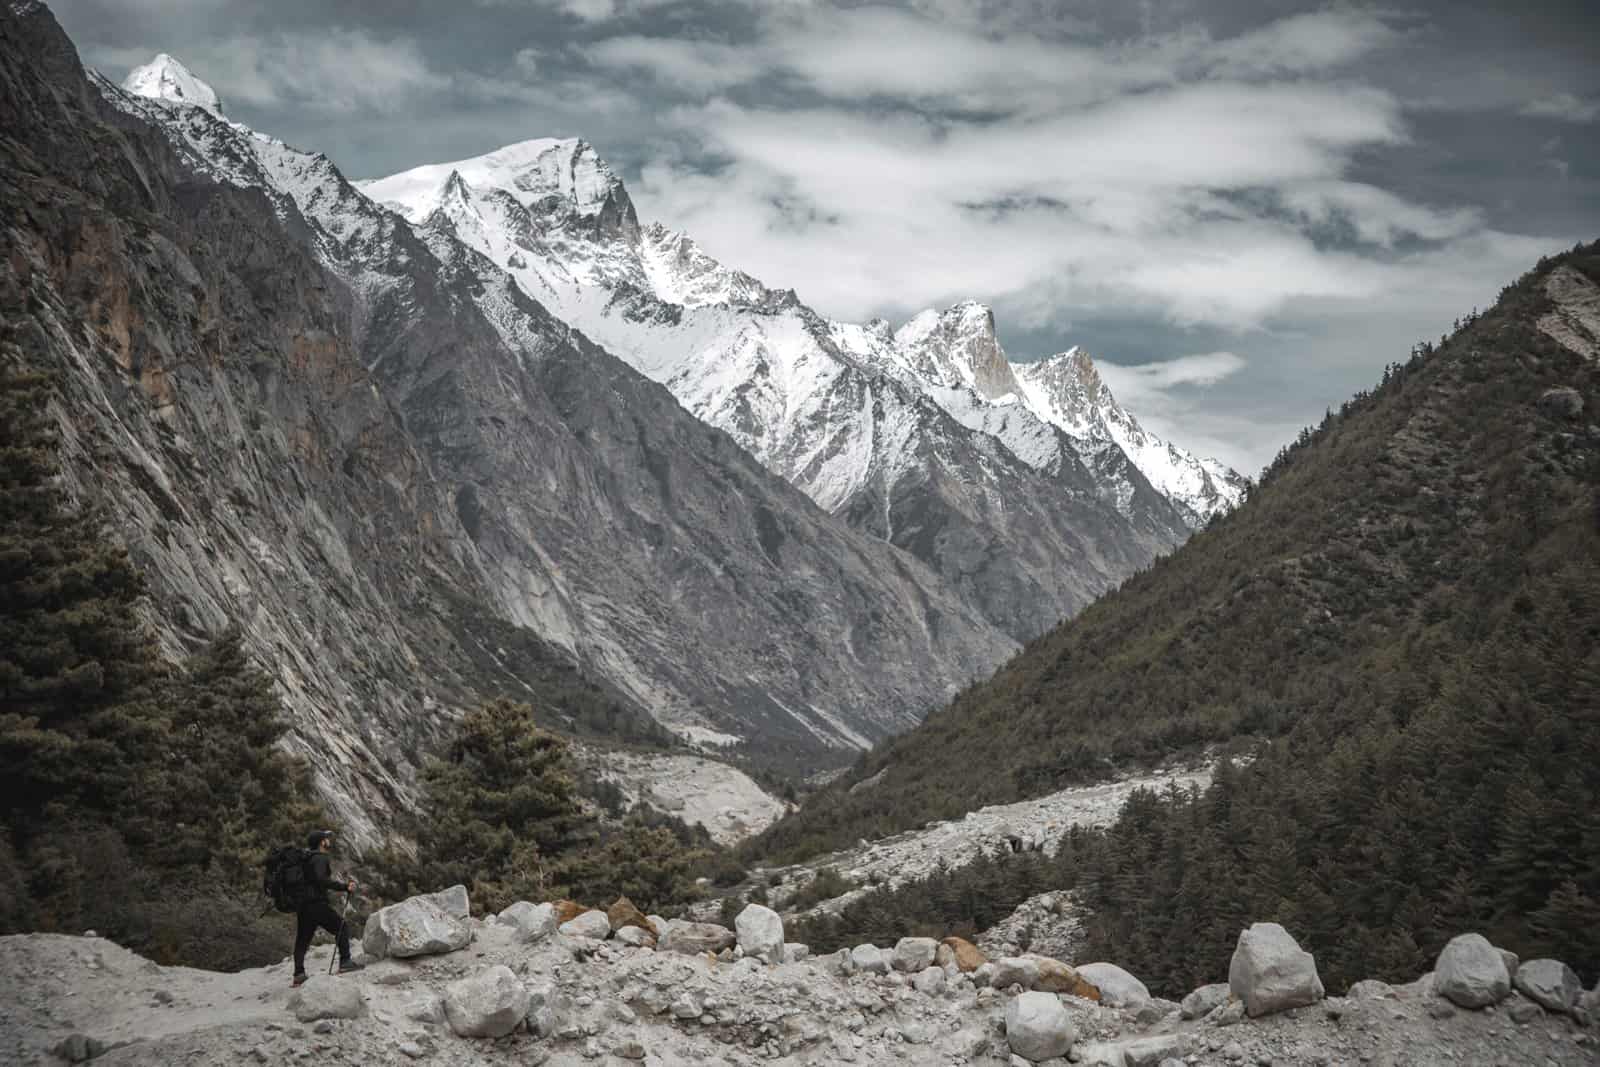
This Charang Ghati Trek is renowned for its difficult terrain, which requires experience with trekking. This trek will take passengers through enormous rock formations, small and unmarked trails near Charang Village, and high-altitude areas that could make breathing difficult.
The Challenge of Altitude
The most challenging part of the trek is its incredibly steep elevation climb. In just a single day, you’ll climb out of Charang La, reaching a top elevation of 17,198 feet before descending towards Chitkul Village at 11,352 feet. The rapid rise in altitude and high, snow- or gravel-covered slopes require an acclimatization process that is thorough and a good fit.
Rugged Terrain & Unspoiled Landscapes
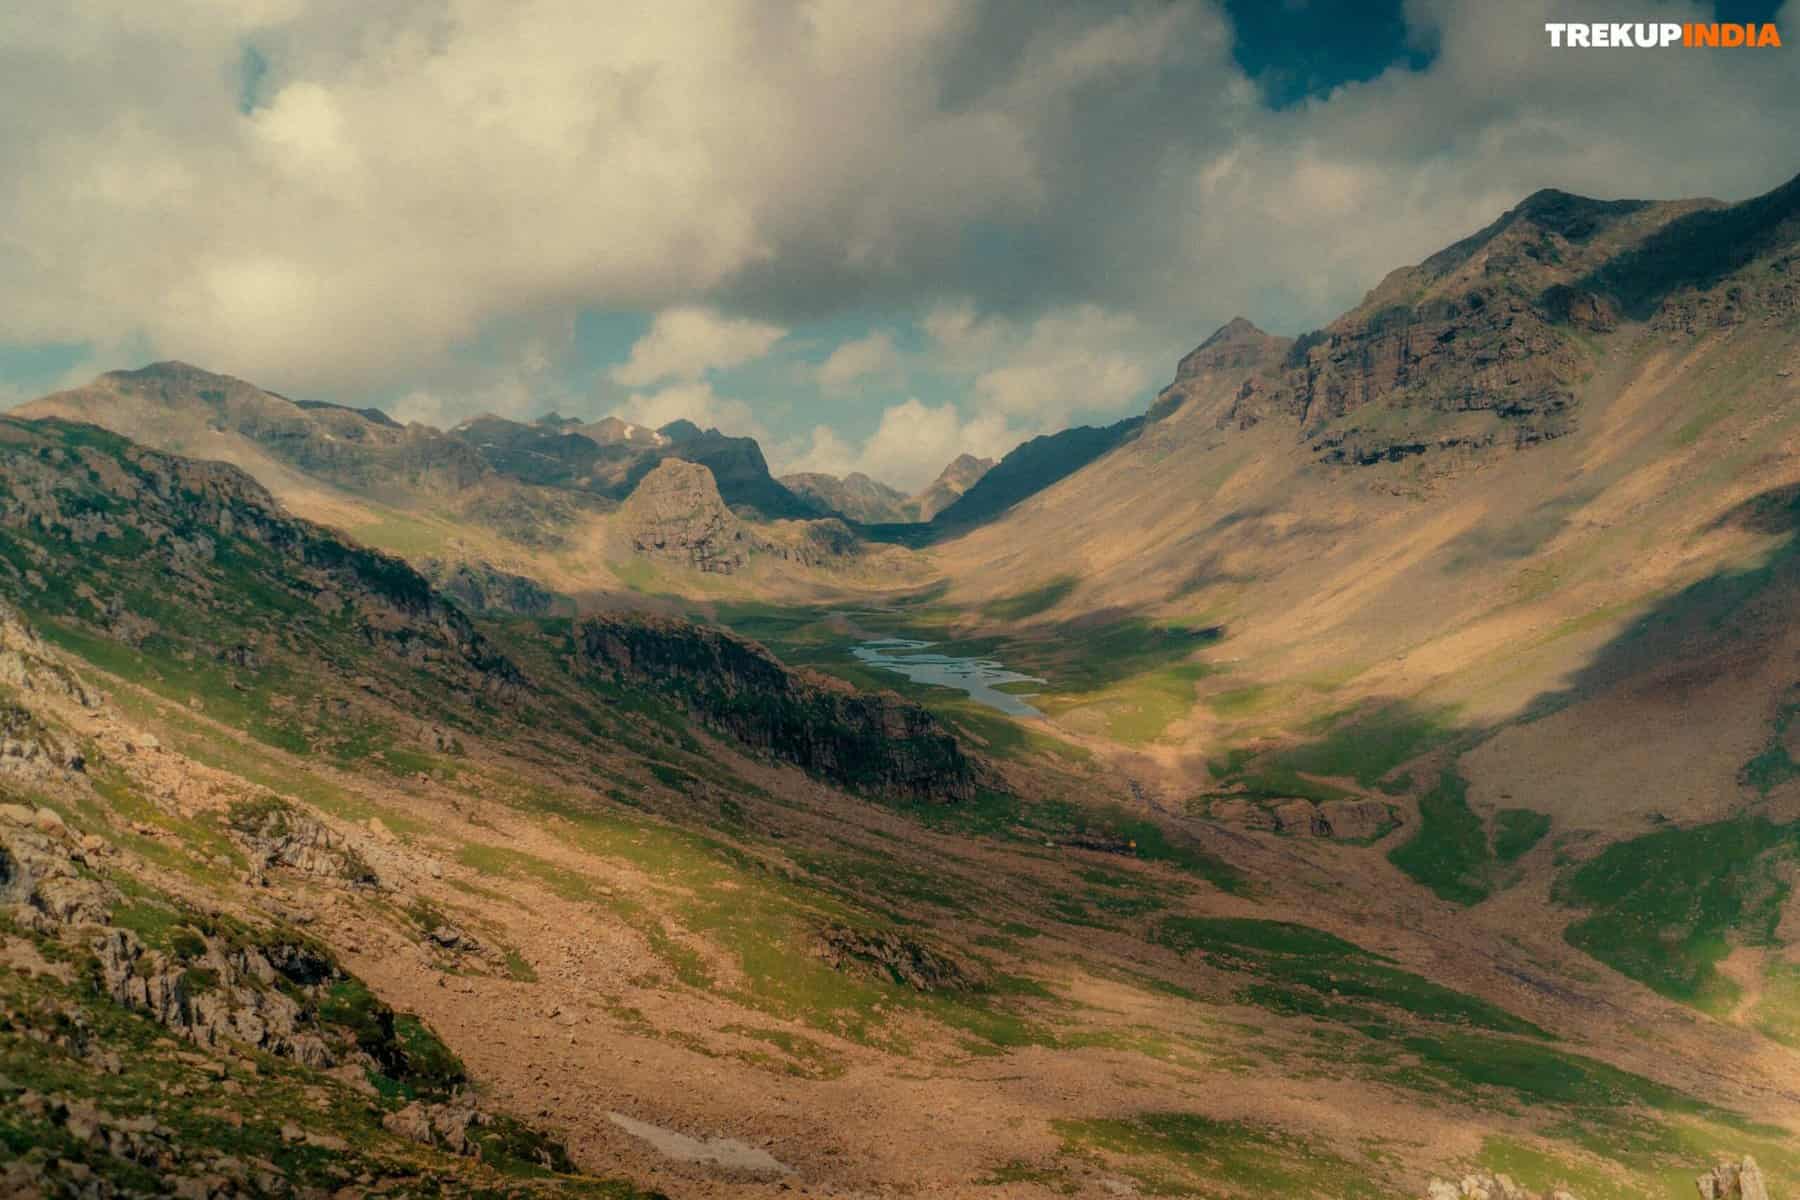
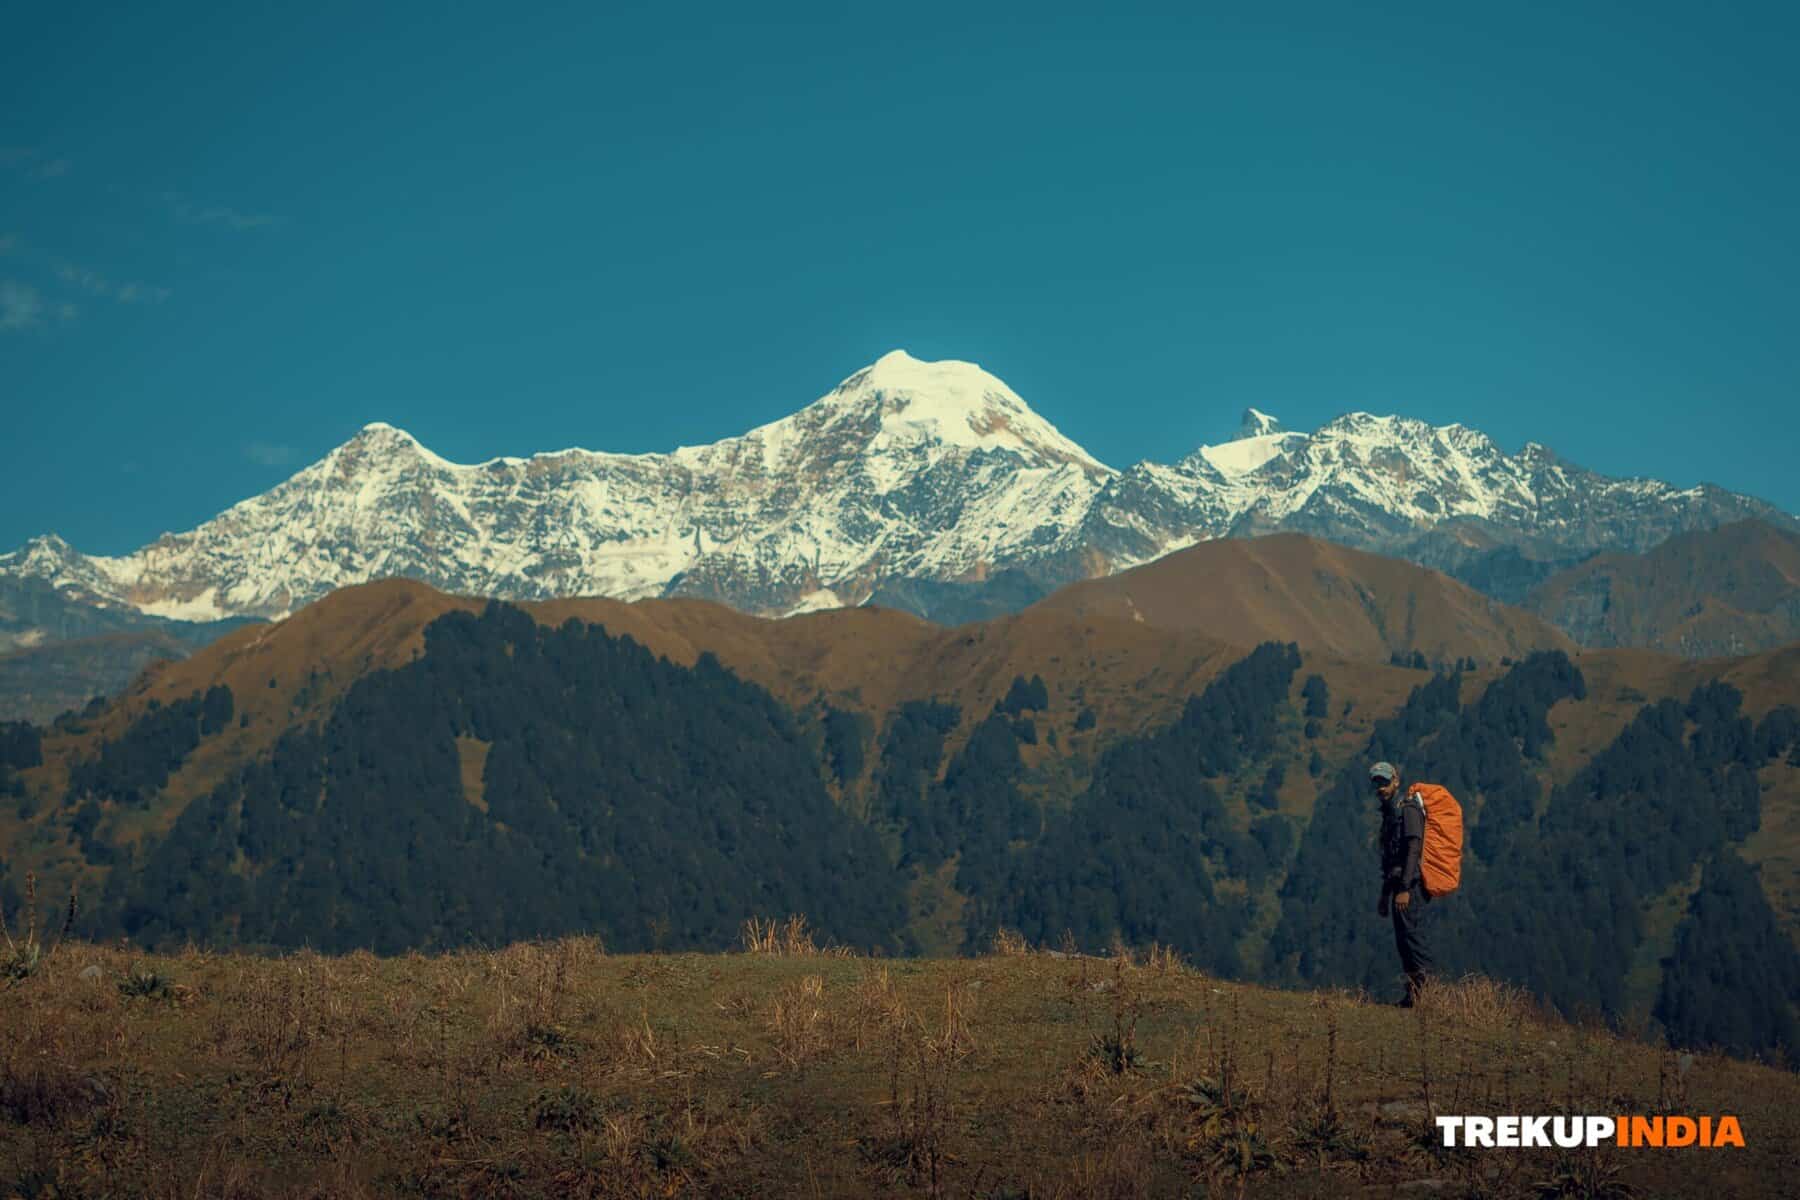
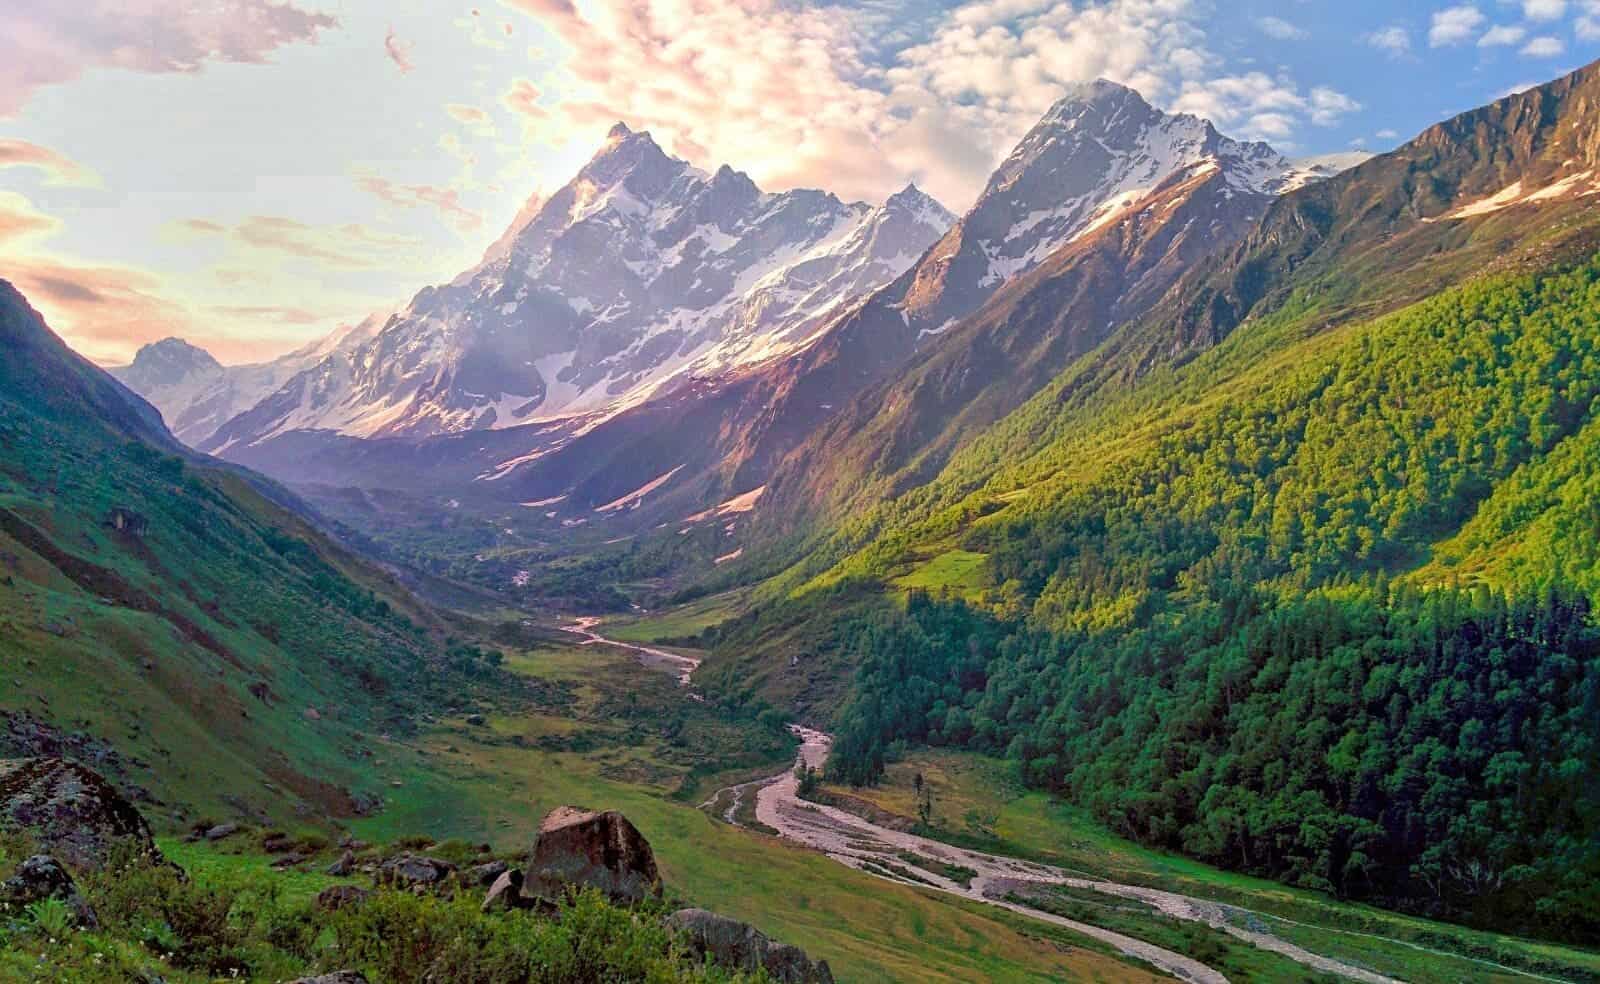
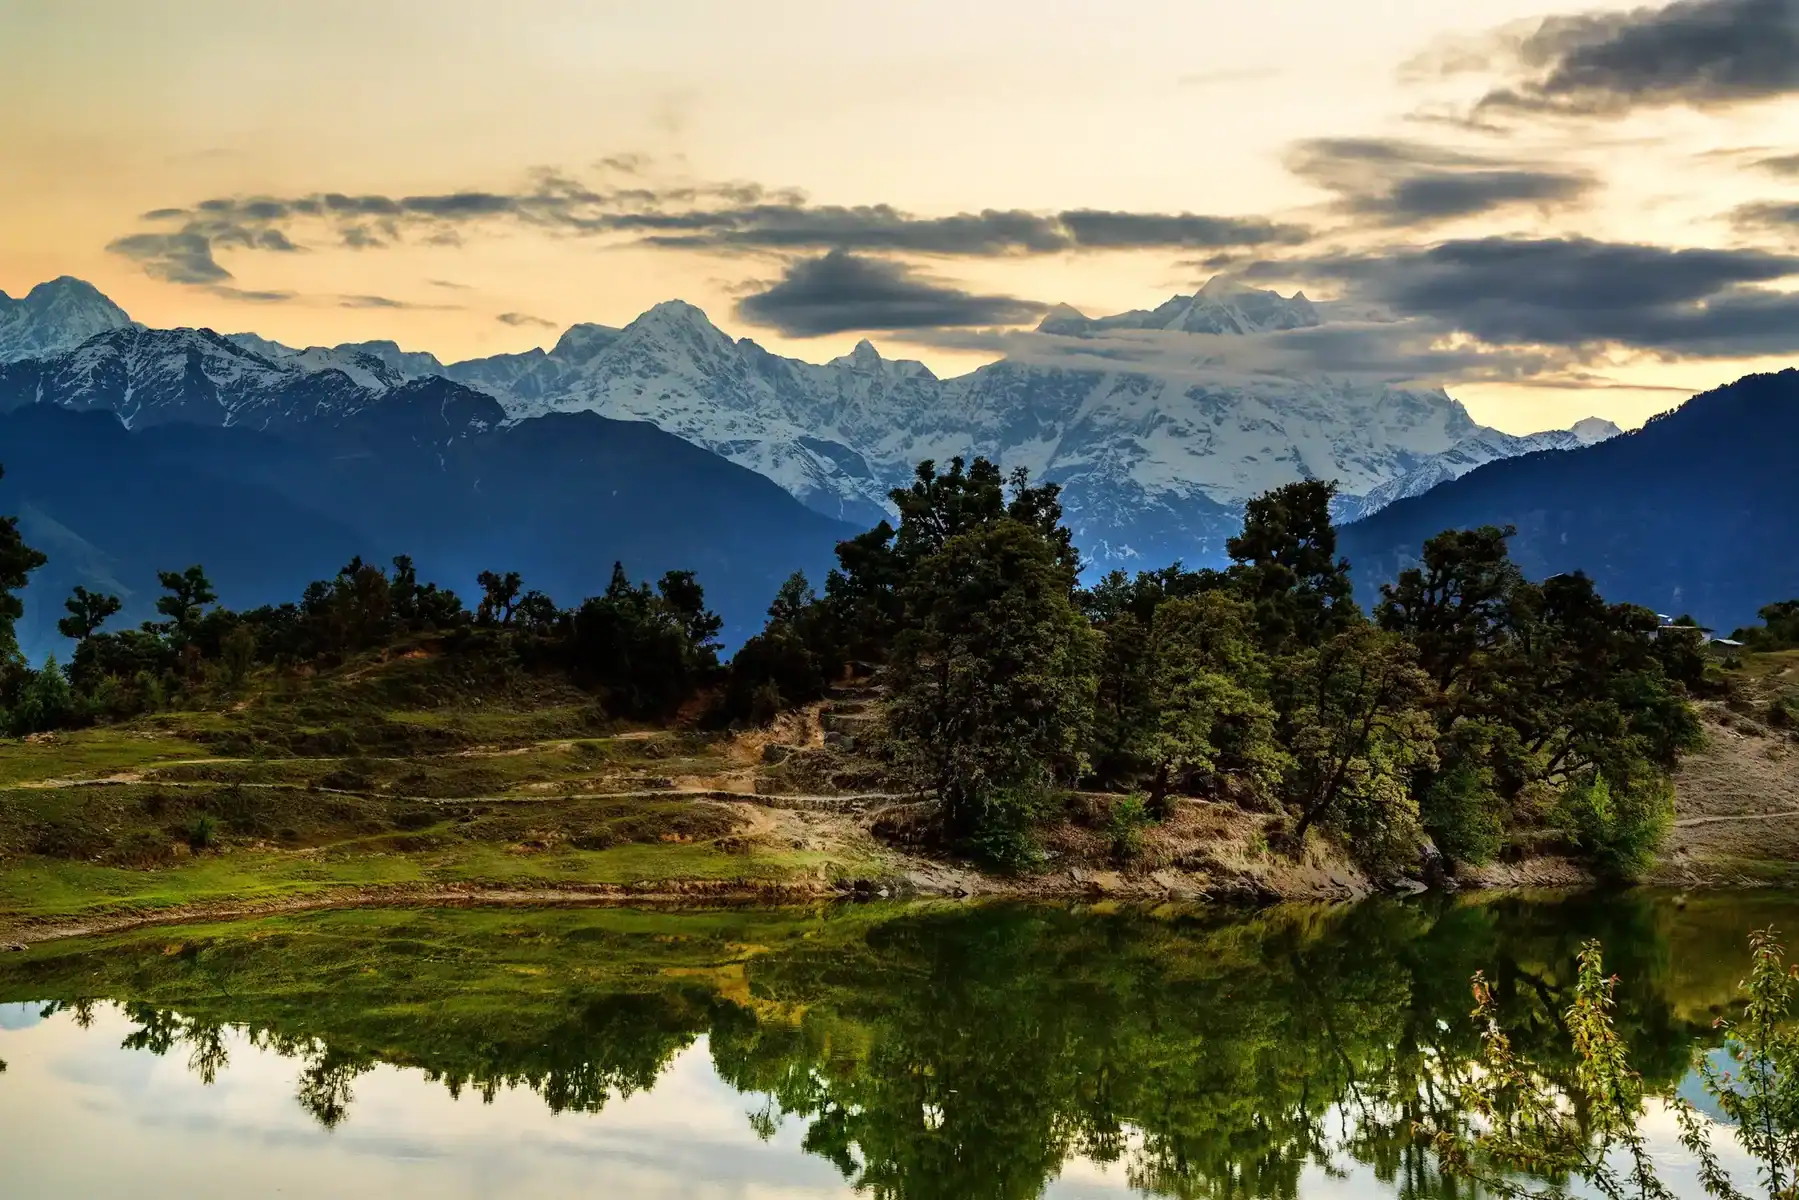
Walking through Kinnaur is about facing physical difficulties and taking in amazing landscapes. The treacherous and steep paths, often slippery and only marked by nature, take you through stunning landscapes that seem to cross the worlds of heaven and the earth. Breathtaking valleys mark the area; rugged mountain passes are unpredictable conditions that can make the trip more exciting.
Geographic & Cultural Context
Kinnaur is a unique location between Tibet in the east and borders the Garhwal Himalayas to the south, Spiti Valley to the north, and Kullu to the west. The mighty Sutlej River, originating on the mountain slopes of Mt. Kanchenjunga, flows through the rough terrain and adds to the stunning scene.
The Kinners in the area, also known in the region as Kinners, have lived in a state of relative secludedness for centuries. Their rich heritage, a mix of Hindu and Buddhist traditions–is reflected in their unique Kinnauri dialect and their traditional headdresses of green. The culture of the Kinnauri people and their spiritual practices offer a captivating background to the difficult hike.
Sacred Mountains & Spiritual Routes
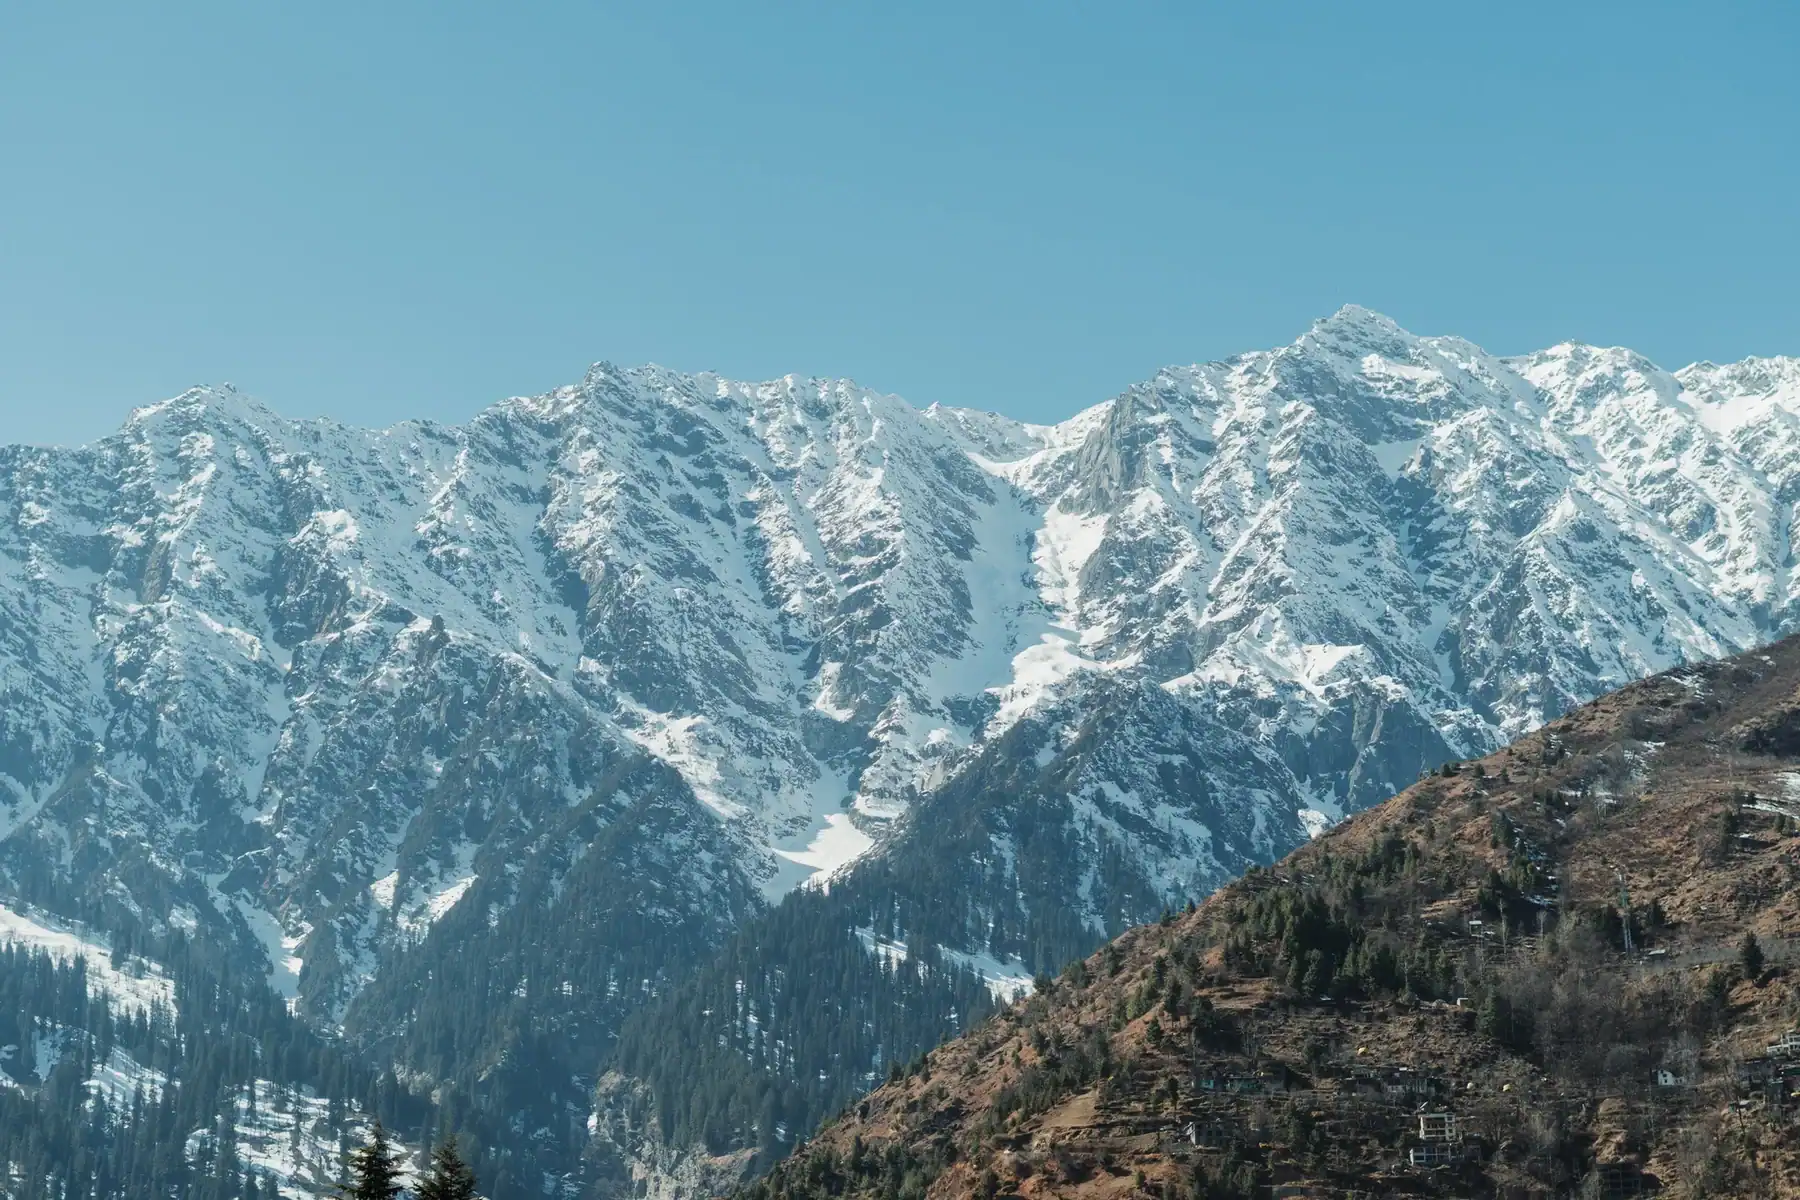
The skyline’s most prominent feature is Mount Kinner Kailash, which is 19,850 feet high. Hindu worshippers consider it sacred. Nearby, a unique formation known as the shiva linga–comprising 79 stone elements that change color with the passing hour–serves as a powerful symbol of the region’s spiritual significance.
The Parikrama trek provides a seven-day circuit if you want a more spiritual experience. It begins with Kalpa and continues through the Triung Valley and then through the Sangla Valley. This journey ends in Raldang Hill (18,041 feet). Raldang Hill is considered an essential place of rest where Kinnaur’s deceased souls are believed to be in the peace of eternity.
This Charang Ghati Trek is a test of endurance and gives you extraordinary splendor and a rich culture in Kinnaur. It is a country where every step combines physical and spiritual challenges.
Best Time for Charang Ghati Pass
The suitable period for the Kunagalu Betta Trek drops between June to February.
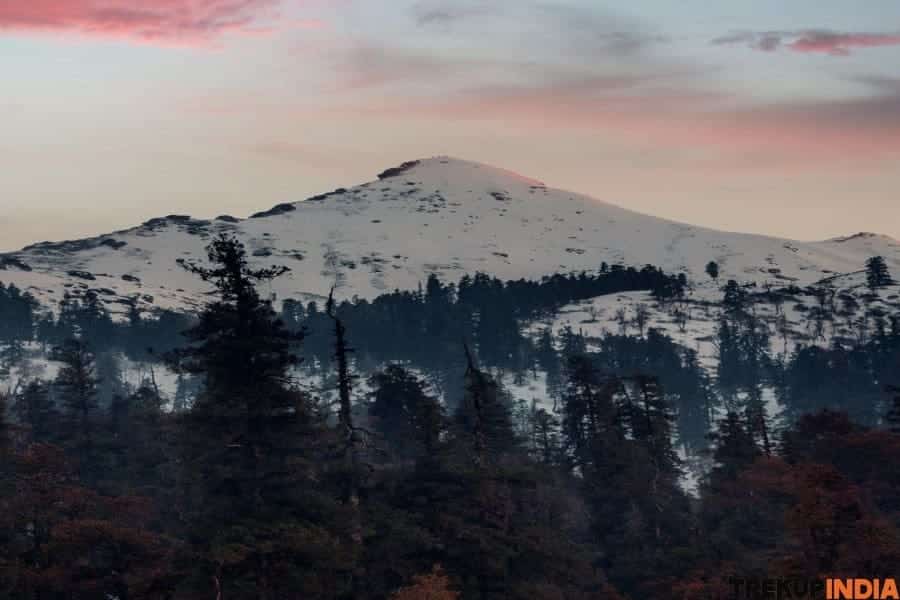
During the winter, the trip offers a different kind of beauty as the once-lush greenery gradually changes colour, transforming into a cosy golden brownish. While it may not be as vibrant as the post-monsoon period, this moment of year offers a unique and calm atmosphere worth experiencing.
During the gale period, the hiking path and rocks can get unsafe. While it’s not extremely risky, it is essential to be mindful of complex components and use suitable footwear to ensure security.
You can likewise take the trip in the summer months. Nevertheless, the sunlight is much more intense, so you might get worn down much faster. It’s recommended that you wear a sun hat or cap and dress in light-coloured garments to protect yourself from the heat and potential sunburns.
Highlights of Charang Ghati Pass
A challenging high-altitude trek – The Charang Ghati Trek is renowned for its acuity and exigency, demanding an extremely high standard of trekking expertise. The trail traverses massive rock formations and the narrowest of paths, making every reversal demanding once you’re on the move.
Steep Ascents and Fast descent – the most challenging part of the trek is an abrupt elevation change. The climb will take you until Charang La, reaching an astounding 17,198 feet. The descent will be swiftly down until Chitkul Village at 11,352 feet–all in just one day. The trek towards Charang La features a steep, slippery, slushy climb, and the descent is awash with slippery, dangerous surfaces.
Incredible Views – Even with its challenges, this hike offers adventurers breathtaking vistas encompassing rugged high altitude landscapes and unspoiled natural beauty – making every step count towards fulfilling its promise!
Charang Ghati Pass Detailed Trek Itinerary
This comprehensive guide will walk you through every step that makes up this Charang Ghati Trek, balancing helpful information about the route and the beauty and challenges of the landscape at high altitudes. Ensure you are prepared, stay alert, and enjoy the breathtaking views of this incredible trip through Kinnaur.Important Considerations:
- Experience is required: This extremely demanding hike is best for those with experience. You will be traversing massive boulders in narrow, unmarked trails, and you will be ready to deal with high altitude conditions that may create breathing problems.
- Rapid Elevation Changes One of the most challenging aspects of trekking is the staggering altitude increase and decrease in a single day. You’ll climb up into Charang La at 17,198 feet and then drop into Chitkul Village at 11,352 feet on gravel and snow-covered pathways.
- Navigation and Safety Beyond Charang Village, trails are primarily uncontrolled. Be extremely cautious on steep slopes and slippery surfaces and zones in which bridges, loose rocks, and even hidden hazards (e.g., dangerous landslides or unstable ground) could be found.
Day 1: Reckong Peo to Shurting via Thangi and Lambar
- Route Overview:
- Start your trip at Reckong Peo (7,513 ft) with a jeep that will take you on an off-road trip (approximately three hours) towards Thangi, just short of Lumber, the final motorable spot.
- Then continue with an 8km 2-hour climb uphill to Shurting (11,188 feet).
- Highlights & Details:
- Lambar Visit: After a 60-kilometer drive from Reckong Peo to Lambar (9,501 feet), explore the rural lifestyle in the valley of Tirung Nala.
- Thangi for Shurting When you are dropped off at Thangi, follow an uneven path that first rises before descending until you reach the riverbed.
- Scenic Highlights: Enjoy leisurely river treks through small valleys. In about 20 minutes, walk past an area that is decorated by prayer flags that symbolize good fortune and luck.
- Bridge Crossing: A bridge across Tirung Nala marks the start of the Shurting’s Trail. Keep to the right bank and enjoy the dazzling blooms of wildflowers and abandoned towns which were once frequented by horses and shepherds.
- The Final Mile: The 8 km hike between Lumber to Shurting usually takes 2 hours. Be aware that once you cross the border zone (about 30km away), Khimokul La becomes inaccessible to foreigners. Camping is possible close to the ITBP camp or Charang Village (6 km away).
Day 2: Shurting to Camp-I (Before Lalanti) via Charang
Route Breakdown:
- 1. The road up to Charang (6 kilometers; ~1.5 hours)
- Part 2: Charang to Camp-I (10 km; approximately 7 hours)
- Absolute Elevation Gain From Shuttering (11,188 feet) climbing beyond Charang (11,483 feet) until Camp-I (13,780 feet).
Trail Details:
- Two alternative paths are derived from Shurting.
- One takes you directly into Charang by way of Tirung Nala.
- The second, which begins at the ITBP checkpoint’s right, leads into hills. Be cautious in case of possible landslides cli,ffs, and dangers from landmines.
- Recommendation: Keep to the left banks of any river heading towards Charang and then take smaller rivers leading to Kunu Village (11,155 ft). The traditional parikrama routes run through the region.
- Scenic Ascent: Within 30 minutes of hiking, the area slowly ascends. It offers spectacular perspectives of the Racho mountain range. It also offers an enticing view at Rangrik Rang.
- Landmarks:
- Rangrik Monastery: It is visible after about an hour of walking. It is ideal for a lunch break and a water stop near Charang Guesthouse. Charang Guesthouse.
- Stone Shelters A little further on, there are two shelters for shepherds. Then, you’ll climb the ridge for a 45-minute walk to see panoramic views of the valley.
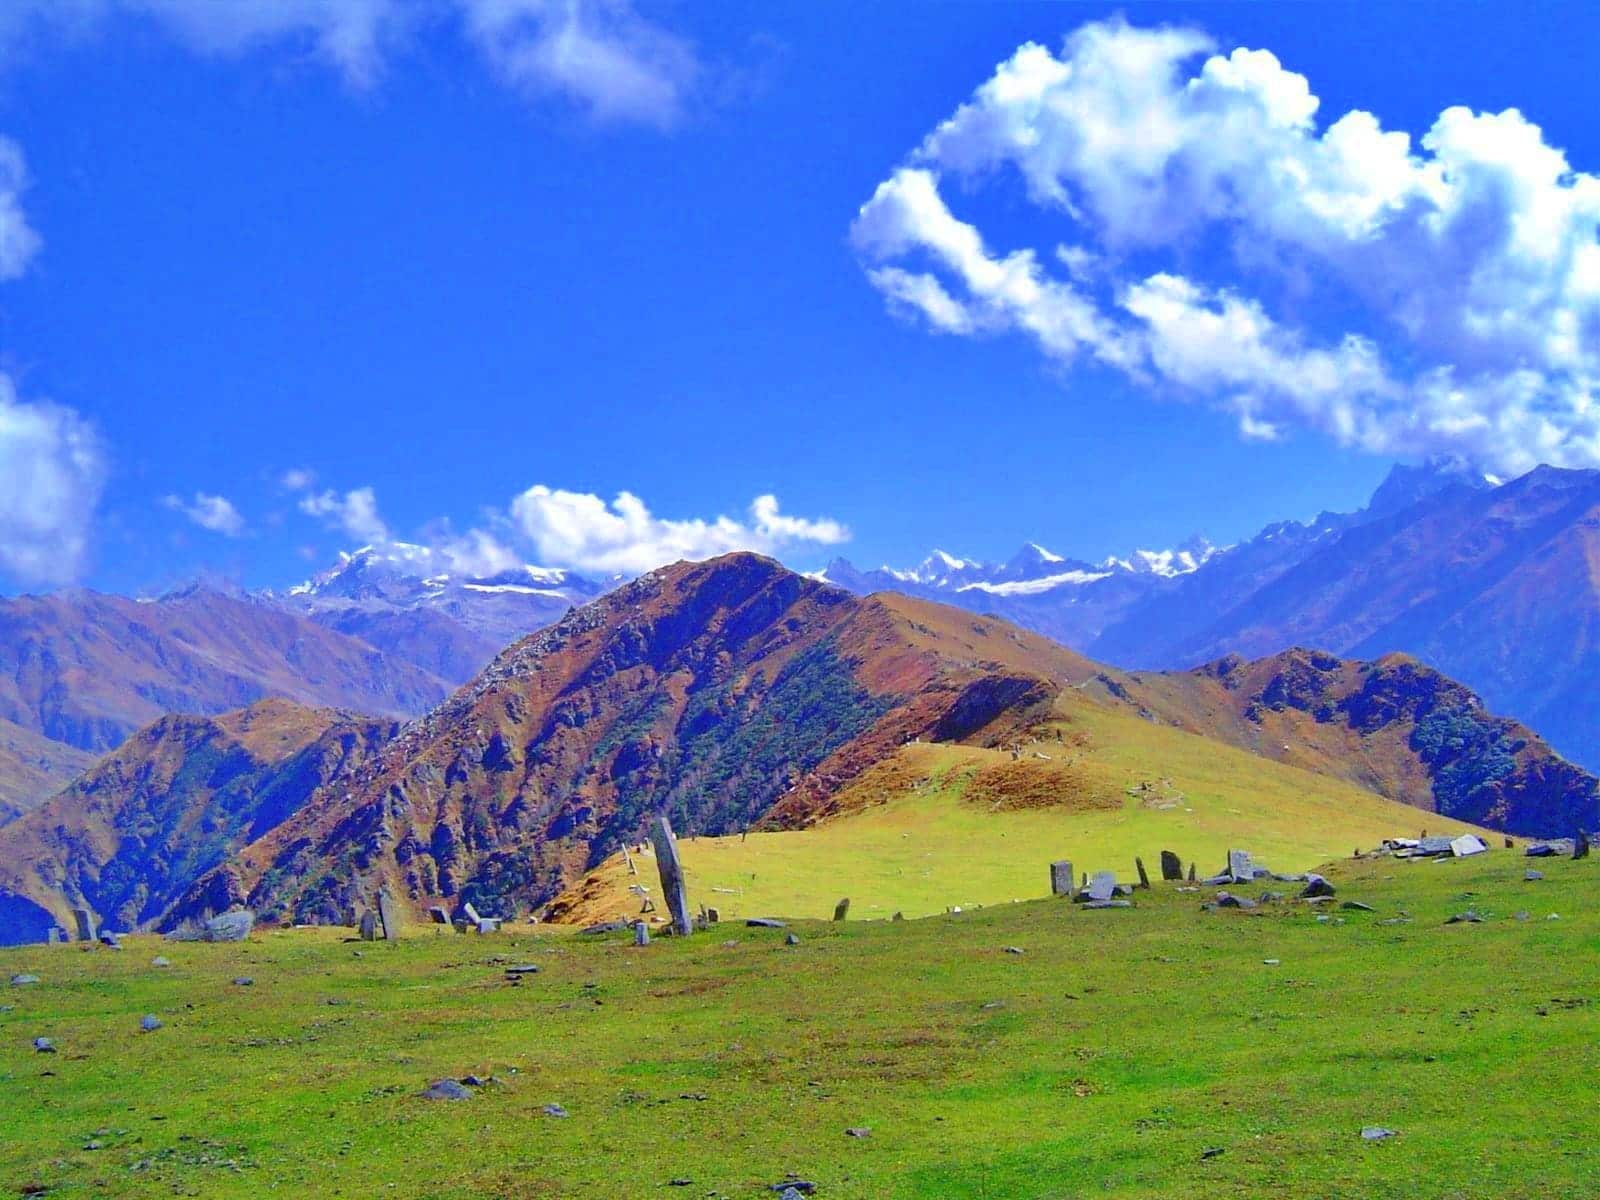
- Lalanti Pass: The pass is marked by striking stone forms and colourful Buddhist prayer flags. a last 2-3 km ascent (to an altitude of 14,764 feet) will lead to the pass. The trail is curved and zigzags back to Shurting Valley before joining Tirung Nala.
- Caution: In certain trail areas, narrowing can become challenging due to uneven surfaces or occasional glissades; maintain an even pace and watch for tiny streams with swift currents that might run quickly across them. Note: Trekking from Charang Village to Camp-I will take approximately six hours.
Day 3: Camp-I to Camp-II
- Route Overview:
- Duration and Distance: Approximately 8 km in 4 hours on gentle slopes.
- Altitude: Remains around Camp-I (13,780 feet) up to a bit higher elevation in Camp-II.
- Highlights & Details:
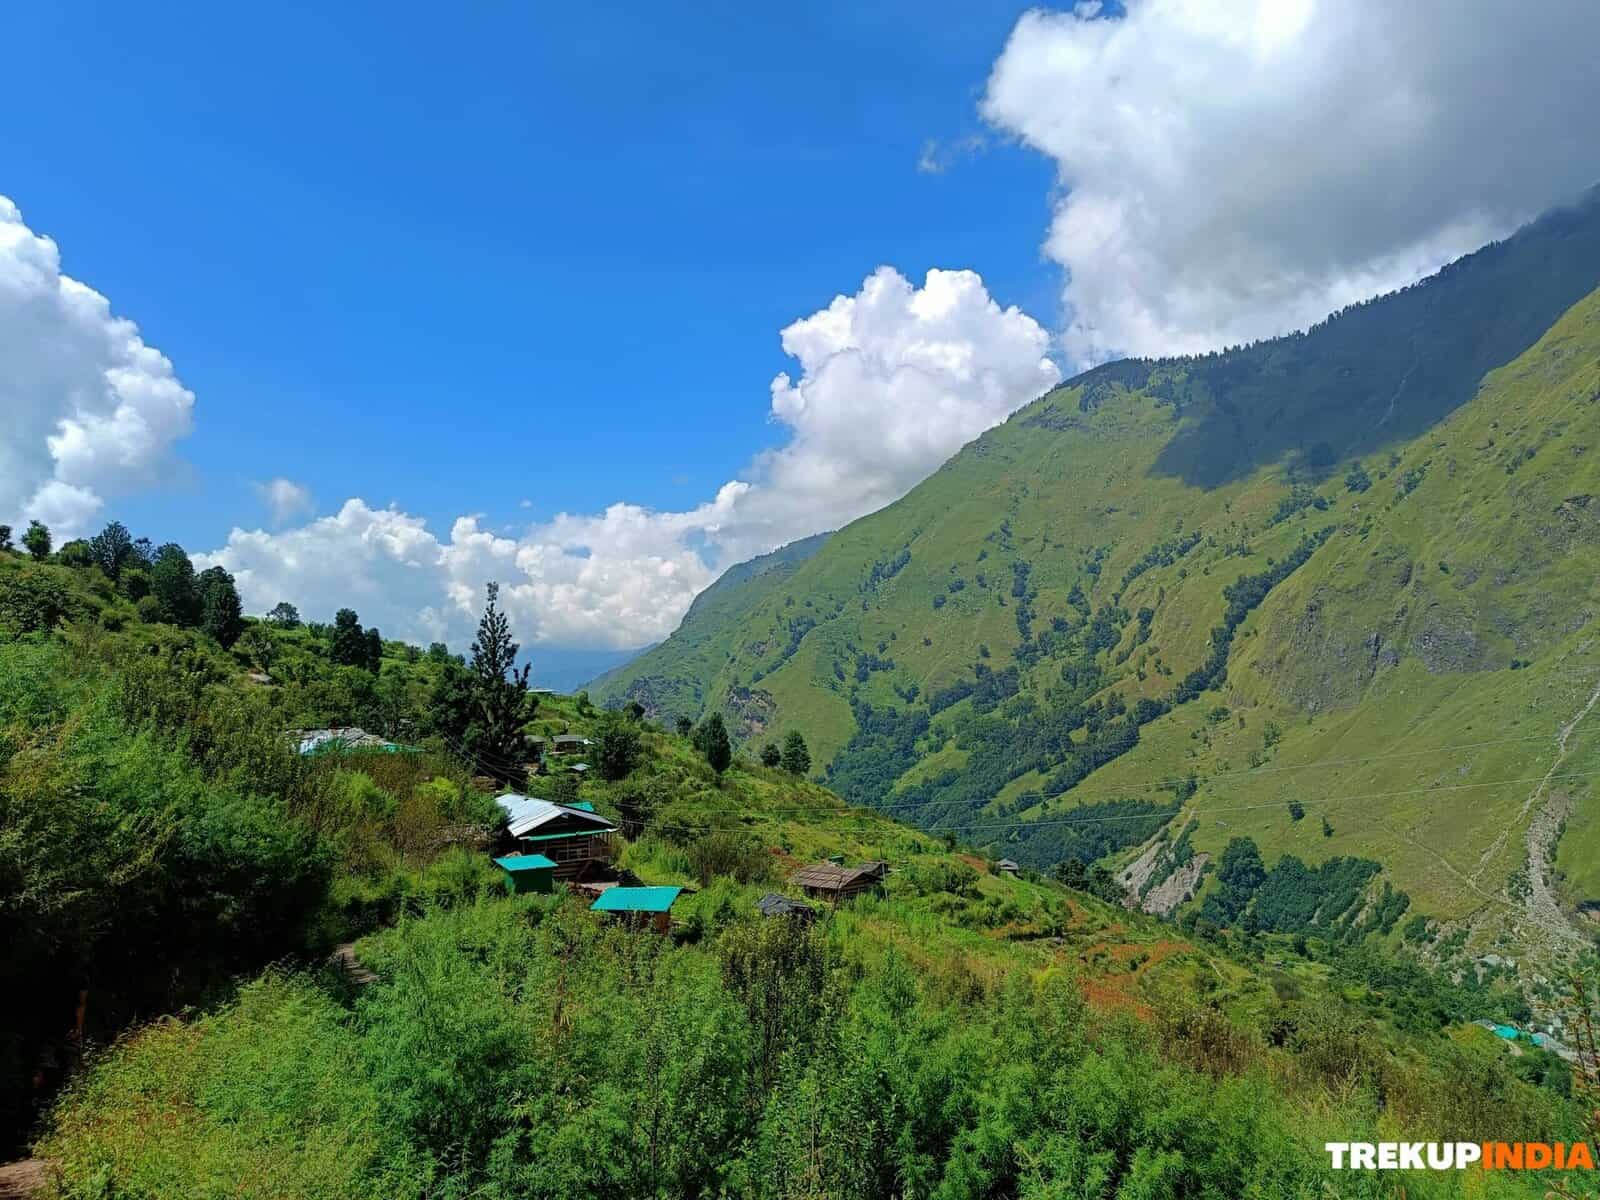
- Scenic Passage Explore a well-marked path to the left of an eddy through grasslands sprinkled with red-tinted trees and vibrant yellow flowers. Be sure to stop frequently for a glimpse of small meadows, streams, and even the formations of rocks.
- Panoramic Views: As you progress on the trail, you’ll pass through the trees in a series and expose rock, providing stunning views of mountains covered in snow, such as Saro (19,997 feet) and others that can reach 20500 feet.
- Marks of the land: You can spot a massive stone structure along the bank of the river, indicating that it is towards the Lalanti campsite. Pilgrims frequently visit camping sites here. Tin sheds offer shelter in grassy meadows, where sheep can graze.
- Trail conditions: The path alternates between gentle ascents and flat sections marked by rock formations and abundant flowers. Be alert for wildlife, and take advantage of these opportunities to adjust to the altitude landscape.
Day 4: Camp-II to Charang La Base
- Route Overview: Longest Route Covered (4 hours, 7 kms). Climb from Camp II (13.780ft.) up to Charang La Base (15.748ft).
- Trail Details:
- Riverbank Begin: Begin by following the smooth, flat riverbank for approximately 30 minutes. Then, gradually, you’ll move from meadows of grass to the rugged terrain.
- Ascent: Stay on the right side of the trail, paying attention to the loose rock and the steep slopes. After about an hour of constant ascent, Charang La Pass comes into view. It is a wet region with ice-covered rock ridges.
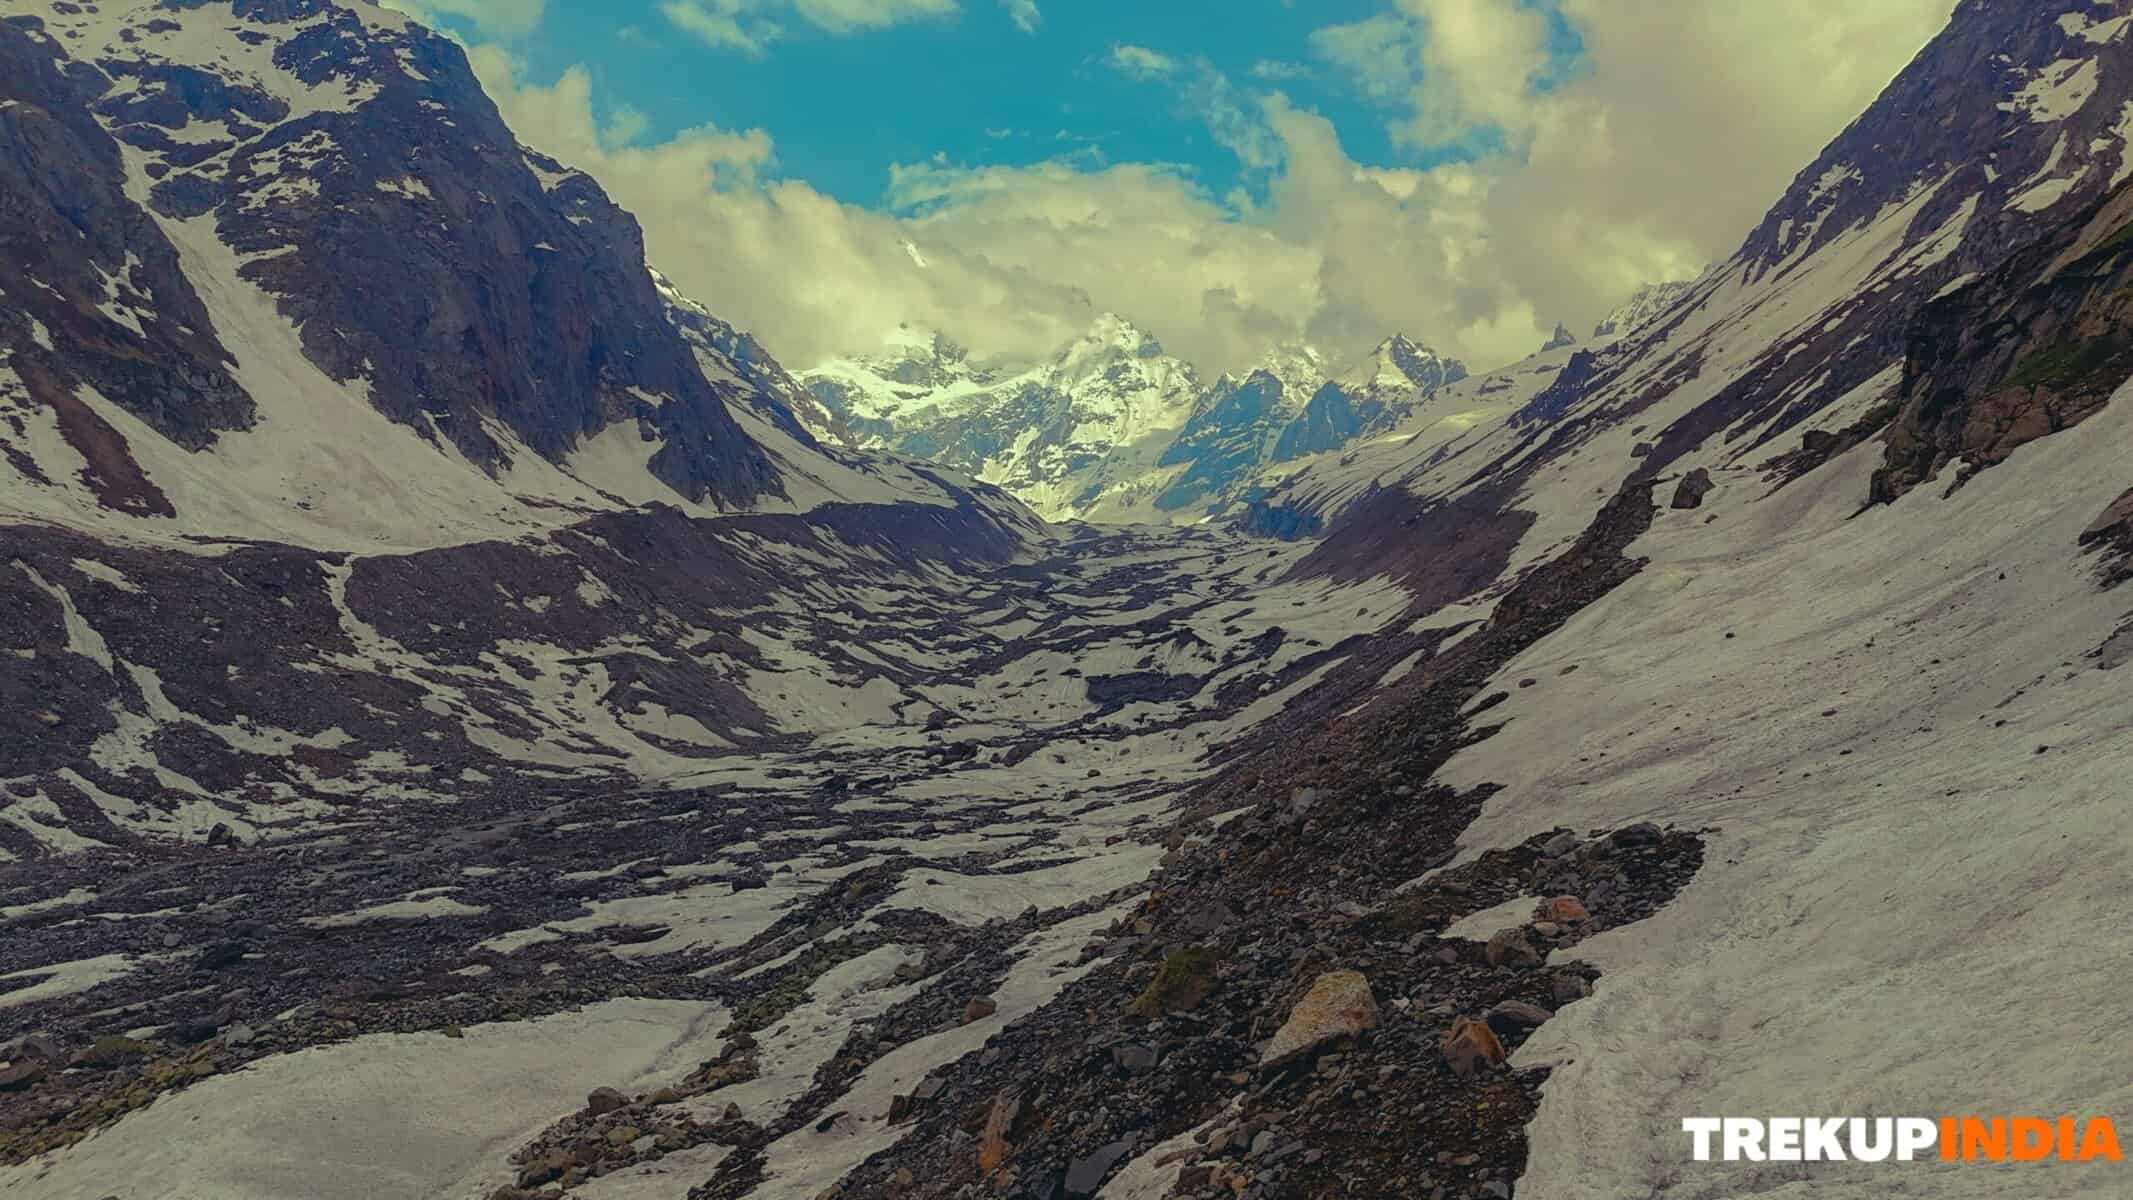
- Glacial Moraine The trail shifts towards a moraine-covered area. After walking for 30 minutes along a ridge, you’ll climb that offers panoramic views before heading down short distances past a lake.
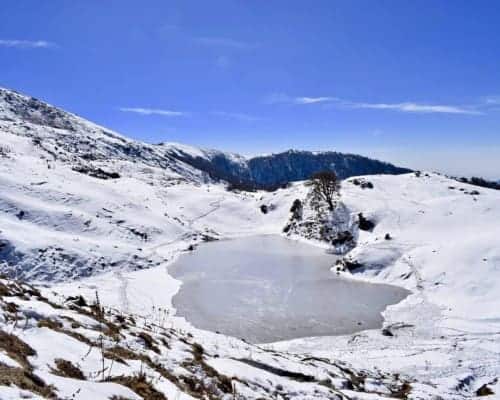
- Scenic Finale The end of the stretch is marked by stone waypoints and red flags that lead visitors to a glacial lake surrounded by a Attracting visitors, this tranquil location features a small rock temple dedicated to Lord Shiva – making this perfect for setting up camp and taking stunning photographs of snow-capped mountains and alpine vegetation.
Day 5: Charang La Base to Charang La to Chitkul
- Route Overview:
- Duration and Distance: Approximately 7 km, requiring 9 hours of strenuous walking.
- Elevation Changes: Ascend from Charang La Base (15,750 feet) up to Charang La (17,198 ft) then lower to Chitkul (11,352 feet).
- Trail Details:
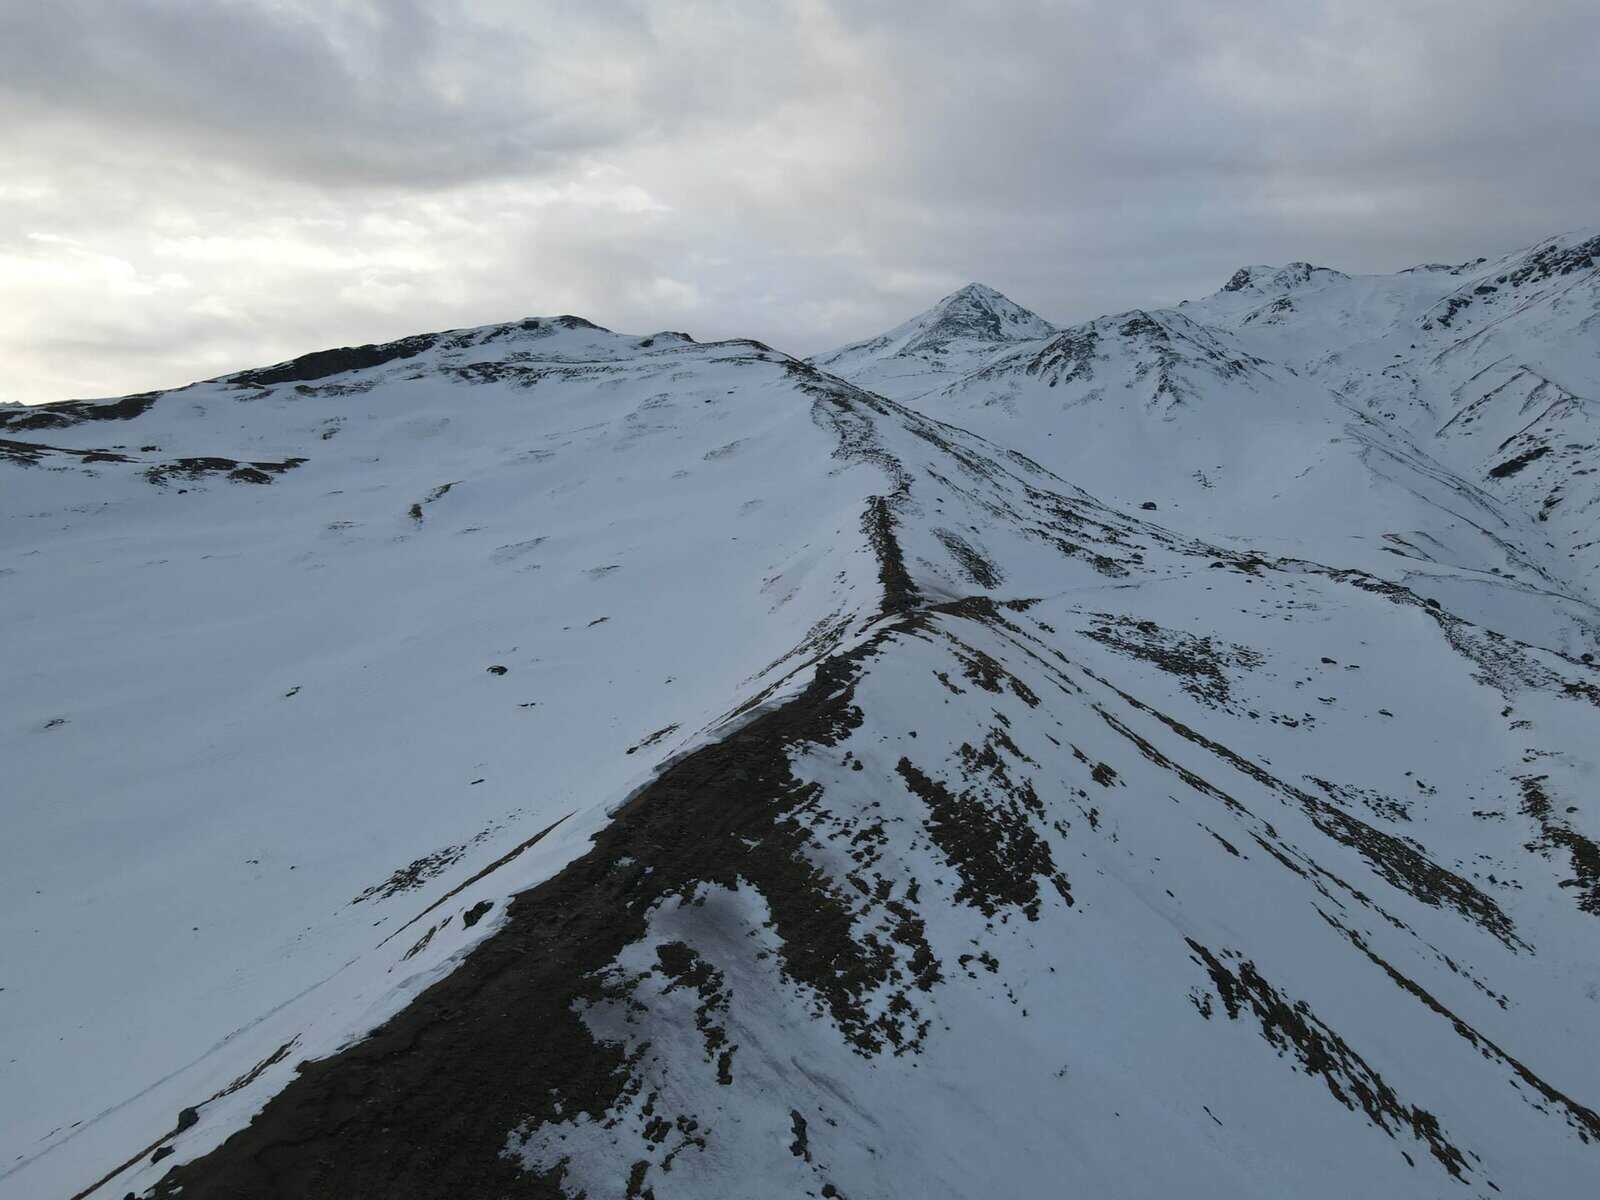
- Morning Push: Get up early to conquer the mountain climb towards Charang La. You can expect bridges, giant boulders, and treacherous snow ridges across a ridge prone to intermittent snowfall.
- Risky Crossing: After 15 minutes of sand and mud, you’ll come across a bridge covered in snow. It’s a crucial crossing marked with an indicator stone in the distance to ensure you’re safe.
- Water Resupply: Restock the water supply in the next 5-6 hours when fresh water sources are falling.
- A steep Climb: Continue climbing through thick areas of snow and boulders. A steep slope of 60 to 70 degrees is next, and even though ropes and ice blades aren’t necessary for experienced trekkers, they’re highly advised.
- Summit and Descent: Upon reaching the top, take a moment for a snack and take stunning panoramic panoramas. Slippery scree slopes and loose rocks characterize the last 150m of the climb. Keep an uninhibited distance from other walkers.
- Descend into Chitkul: The descent to Chitkul is long and strenuous, characterized by rough and snowy terrain that gives way to frozen plains intricate stretches of bushes and streams. The path gradually broadens through open meadows and passes by charming temples before reaching Chitkul village.
How to Reach For Charang Ghati Pass
To reach Kunagalu Betta from Bengaluru, you can use your car and follow the route that passes through Ramanagara town, which lies on the way to Mysore. Ramanagara is renowned for its silk production and export and for a scrumptious dish called Mysore Pak. You can use Google Maps to navigate and locate the precise route.
Reaching Kunagalu Betta via Public Transportation
Way 1: From Majestic Bus Station, board a bus bound for Satellite Bus Station. Upon arrival, disembark at Ramanagara Bus Station. From there, hail an auto rickshaw to Kunagalu village. Request the driver to drop you off at the beginning of the town.
Way 2: Depart Majestic Railway Station and board a train to Mysore. Alight at Ramanagara, then hire an auto rickshaw to reach Kunagalu village. Disembark at the village’s entrance.
Essentials for the Charang Ghati Pass
Achieving success on your way through Charang Ghati Pass requires meticulous planning and equipment to deal with its high altitude, rocky terrain, and uncertain weather. This is a complete checklist to aid in making sure that your journey is enjoyable and safe:
Clothing & Footwear:
- Trekking Boots are Insulated and waterproof for maximum stability on snowy, challenging trails.
- Layered Clothing:
- Base Layers: Long-sleeved tops that wick moisture and leggings.
- Insulating Layer: A down or fleece jacket for extra warmth.
- Exterior Shell: Waterproof and waterproof pants and jacket.
- Accessories: Warm hat/beanie, gloves (preferably made of waterproof material and lined with insulation), a neck scarf, or a gaiter.
- Gaiters Protect against snow and other debris.
Gear & Equipment:
- Walking Poles: Essential for aid during grueling ascents or descents.
- Backpacks: A sturdy, well-padded backpack with an umbrella and sufficient storage space to hold all the necessities.
- Navigation tools: A compass and map and a GPS device (with offline maps or backups).
- Flashlight/Handlamp: This has extra batteries for late starts or unexpected darkness.
Hydration & Nutrition:
- Water Supply:
- Take plenty of water bottles or put them in a bladder for hydration.
- Take a water purification device (tablet filter, filter, or ultraviolet device).
- Foods: High-energy snacks such as dried fruit, nuts, energy bars, and chocolate. You should think about lighter meals if you intend to cook at breaks.
Safety & Emergency Items:
- The First Aid Kit includes bandages, disinfectants, blister treatment, and pain relief medications. Any medications you take for yourself.
- Treatment for Altitude Sickness: (e.g., Diamox) If your physician recommends.
- Emergency Gear:
- Multi-tool/knife
- Firestarter Kit or lighter
- Alarm clock and emergency blanket.
- Lip Balm and Sunscreen: With high SPF to guard against harsh UV rays in high altitudes.
- Sunglasses Protect your eyes from UV light to protect your eyes from the harmful glare.
Documents & Permits:
- Permits for Trekking: Ensure you have acquired permits from relevant authorities.
- Identification and Cash: Have your essential IDs and sufficient cash with you because ATMs can be difficult to find in remote locations.
Optional Items:
- Smartphone/Camera: To capture the stunning views.
- Additional Layers More clothing options for the cold winter evenings.
- Notebook, or Trek Log: To keep track of your travels.
- Insect Repellent: The amount depends on the season and the local weather.
Dates For Upcoming Treks
Want To Trek Like Pro?
Basically, watch these videos if you want to trek the same way professional trekkers do and make your skills better. These videos contain useful tips and techniques to further improve your trekking skills itself. These videos actually help both new and experienced trekkers improve their trekking skills. These videos definitely provide useful tips that make your trek better. We are seeing that these videos by Trekup India experts will only help you make your trekking skills better.


Know Everything About Acute Mountain Sickness
Acute Mountain Sickness occurs when people trek to high altitudes above 8,000 feet. This condition itself develops further due to reduced oxygen levels at such heights. Basically, as you go higher up, the air pressure and oxygen levels decrease, which causes the same problem. Acute Mountain Sickness surely causes headache, nausea, vomiting, and dizziness in affected persons. Moreover, peoples also experience difficulty in sleeping during this condition. To avoid mountain sickness, you should actually trek up slowly to higher altitudes. To learn further about this condition itself, watch the videos by Trekup India.


